
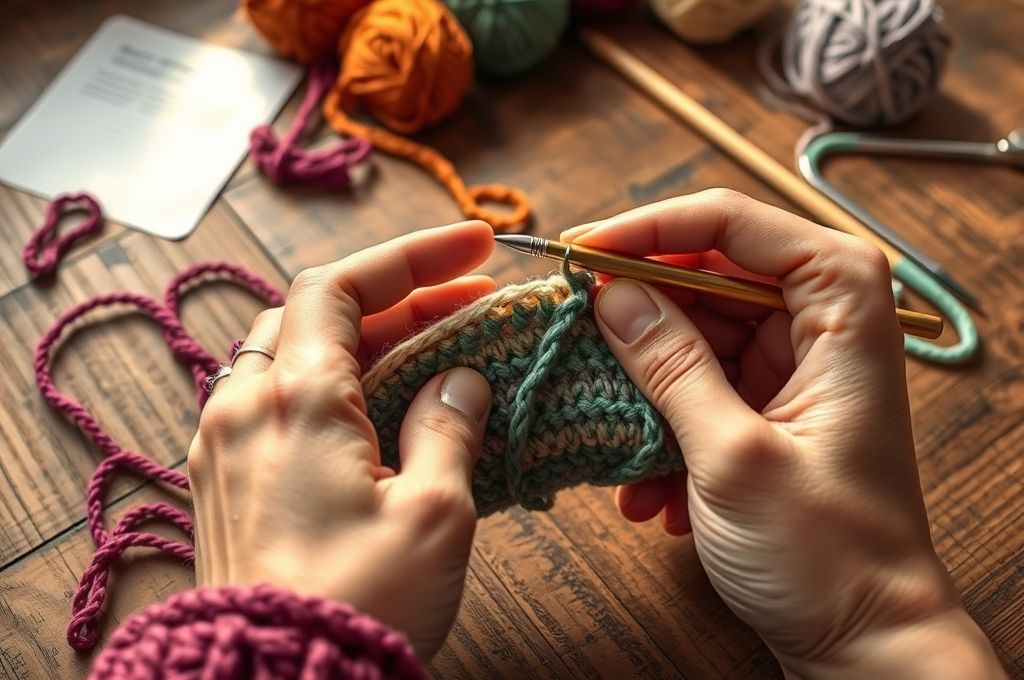
We’ve All Been There
Let’s be honest—no one picks up a crochet hook and instantly creates a flawless blanket on their first try. Even seasoned crocheters have moments when their work looks more like a tangled mystery than a cozy masterpiece. If you’ve ever stared at your project, wondering why one side curls up, why the stitches don’t line up, or why your “square” looks more like a trapezoid, you’re not alone. In fact, you’re in the perfect place to fix it.
Crocheting is a beautiful blend of creativity and precision. But with so many stitches, patterns, and techniques, it’s easy to run into common pitfalls—especially when you’re learning or trying something new. The good news? Most of these mistakes are completely fixable. And better yet, understanding them is one of the fastest ways to level up your skills.
In this article, we’ll walk through some of the most frequent crochet mistakes, from tension troubles to miscounted rows. We’ll explain why they happen, how to spot them early, and most importantly, what you can do to fix them—or even prevent them altogether. Whether you’re a beginner still mastering the chain stitch or an intermediate crocheter tackling your first sweater, this guide will help you troubleshoot with confidence.
So grab your favorite hook, take a deep breath, and let’s turn those crochet frustrations into triumphs—one stitch at a time.
1. Uneven Tension: Why Your Stitches Don’t Match Up
One of the most common—and often frustrating—issues crocheters face is uneven tension. You might notice that some stitches are tight and bunched up, while others are loose and floppy. This inconsistency can make your fabric look wavy, lopsided, or just plain messy.
Tension refers to how tightly or loosely you hold the yarn and pull each stitch through. It’s influenced by your grip, your mood, and even how long you’ve been crocheting in one sitting. For example, beginners often start with tight stitches out of nervousness, then gradually loosen up as they get more comfortable—leading to a project that’s tighter on one end than the other.
Why it matters: Uneven tension affects the drape, size, and overall appearance of your work. A scarf with inconsistent tension might curl or stretch unevenly. A garment could end up too small in one area and too big in another.
How to fix it:
- Practice consistent hand positioning. Hold the yarn the same way throughout your project. Many crocheters find it helpful to wrap the yarn around their fingers in a consistent manner.
- Take breaks. Fatigue can cause your tension to change. Step away every 20–30 minutes to reset your hands.
- Swatch first. Before starting a big project, make a small sample (a “gauge swatch”) to test your tension. This helps you adjust your hook size or technique before committing.
- Use the right hook size. Sometimes, tension issues are actually a sign you need a different hook. A larger hook can loosen tight stitches; a smaller one can tighten loose ones.
Pro tip: Don’t obsess over perfection. A little variation is normal—even in handmade items. The goal is consistency, not robotic uniformity.
2. Miscounting Stitches: The Silent Project Killer
Have you ever finished a row and realized you have too many or too few stitches? You’re not imagining things—miscounting stitches is one of the sneakiest problems in crochet. It often starts subtly: one extra stitch here, one missed chain there. But over several rows, those small errors add up, leading to misshapen edges, holes, or entire sections that don’t align.
This mistake is especially common when working in the round or increasing/decreasing. It’s easy to accidentally work two stitches into one space or skip a stitch entirely—especially if you’re distracted or working in low light.
Why it matters: Accurate stitch counts are essential for maintaining the shape and structure of your project. A hat might not close properly. A blanket might grow wider on one side. And when you go to seam pieces together, mismatched stitch counts can make assembly a nightmare.
How to fix it:
- Count every row. Yes, it’s tedious, but it saves time in the long run. At the end of each row, stop and count your stitches before moving on.
- Use stitch markers. Place a locking stitch marker at the beginning and end of each row (or at key points like increase/decrease zones). This helps you visually track where each row starts and ends.
- Highlight pattern repeats. If your pattern repeats every 6 stitches, use a different colored marker every 6th stitch to keep track.
- Check your turning chain. Many patterns count the turning chain as a stitch. If you forget to count it—or count it twice—you’ll be off by one from the start.
Real-life example: Sarah, a hobby crocheter, spent three weeks on a baby blanket only to realize the last row had 12 extra stitches. She had forgotten to count her turning chain consistently. After ripping back just two rows, she corrected the mistake and finished strong.
Remember: It’s not failure—it’s feedback. Every miscount teaches you to be more mindful.
3. Twisted Chains: The Invisible Mistake
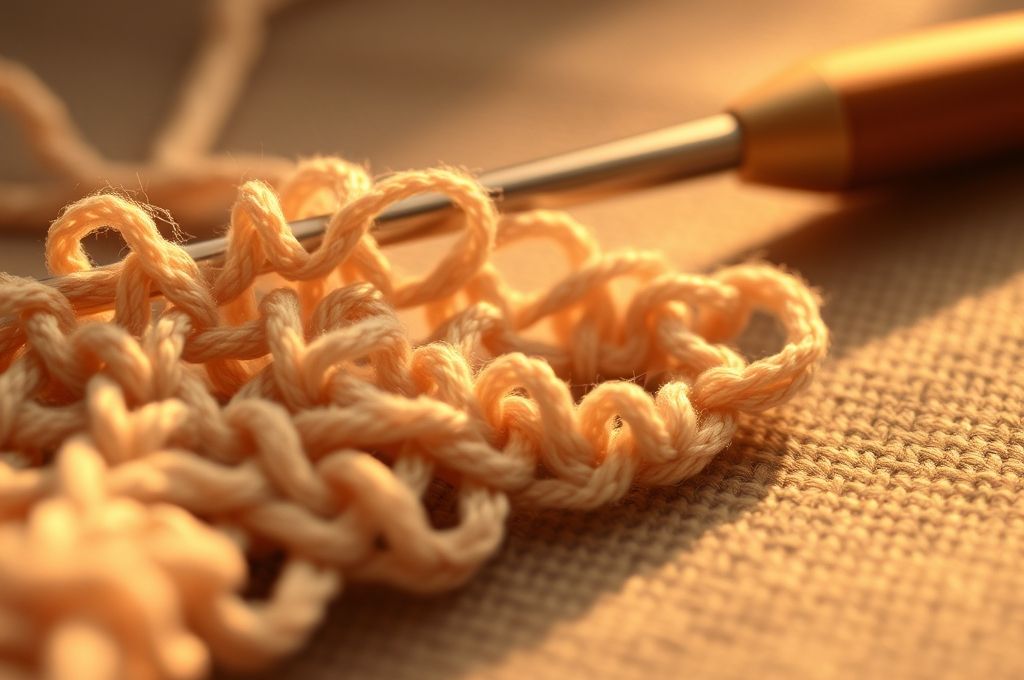
Here’s a tricky one: the twisted chain. It looks perfectly normal when you make it, but once you start crocheting into it, your work suddenly spirals into a Möbius strip. This usually happens at the very beginning of a project when you’re creating the foundation chain.
A twisted chain occurs when the chain isn’t lying flat—instead, it’s been rotated 180 degrees along its length. When you crochet into it, the stitches follow that twist, resulting in a tube or a corkscrew edge instead of a straight line.
Why it matters: A twisted foundation chain ruins the structure of your project from the start. You might not notice it until you’re several rows in, which means a lot of frogging (that’s “ripping back” in crochet lingo).
How to fix it:
- Lay your chain flat before starting. After making your foundation chain, place it on the table and gently straighten it out. Look down the length of it—does it lie flat like a ribbon, or does it look like it’s been flipped?
- Check the “bumps.” On the back of a chain, there are little “bumps” or “humps” under each stitch. Make sure they’re all facing the same direction and visible as you work into them.
- Use a contrasting yarn for practice. A lighter or brighter yarn makes it easier to see the structure of your chain.
- Start with a slip knot that’s not too tight. A tight knot can twist the first few chains.
Helpful analogy: Think of your foundation chain like a zipper. If you try to zip it with one side flipped, it won’t close properly. Your crochet chain is the same—it needs to be aligned correctly from the start.
Bonus tip: If you do discover a twist mid-project, don’t panic. You can usually undo just the current row and rework the chain correctly—no need to frog the entire piece.
4. Gauge Issues: Why Your Project Doesn’t Fit
You followed the pattern to the letter. You used the recommended yarn and hook. So why is your sweater too big? Or your hat too small? The culprit is likely gauge—the number of stitches and rows per inch in your work.
Gauge is like the blueprint of a building. If your foundation is off, the whole structure will be affected. Even a small difference—like 1 extra stitch per inch—can result in a finished piece that’s several inches larger or smaller than intended.
Why it matters: Gauge is especially critical for garments, blankets, and anything that needs to fit a specific size. A dishcloth can handle some variation, but a cardigan that’s 4 inches too wide won’t drape right.
How to fix it:
- Always make a gauge swatch. Crochet a 4×4 inch square using the stitch pattern and hook size in the pattern. Measure how many stitches and rows you have in one inch.
- Adjust your hook size. If you have too many stitches per inch, go up a hook size. If you have too few, go down.
- Wash and block your swatch. Some yarns stretch or shrink after washing. Test your swatch the same way you’ll care for the final piece.
- Don’t skip the pattern notes. Many designers include gauge information and tips for adjusting.
Common misconception: “I don’t need to swatch—I just want to start!” But skipping gauge can cost you more time and yarn in the long run.
Real talk: Your tension is unique. Just because the pattern says “use a 5mm hook” doesn’t mean that’s the right size for you. Crocheting is personal—your hands, your rhythm, your yarn. Adjust accordingly.
5. Wrong Stitch Height: When Your Rows Don’t Line Up
Have you ever worked a row of double crochets, only to find the next row sits unevenly? This often happens when you’re mixing stitch types or forgetting to account for stitch height.
Each stitch has a different height: single crochet is short, half double crochet is medium, double crochet is tall, and treble crochet is even taller. When you switch between them—especially in patterns like ripple afghans or textured designs—the height difference can cause rows to slant or shift if not managed properly.
Why it matters: Misaligned rows create a wavy or jagged edge. In garments, this can affect fit and drape. In colorwork, it can distort the design.
How to fix it:
- Use the correct turning chain. Each stitch type requires a different number of chain stitches at the beginning of the row to lift the work to the right height:
- Single crochet: 1 chain
- Half double crochet: 2 chains
- Double crochet: 3 chains
- Treble crochet: 4 chains
- Don’t count the turning chain as a stitch unless the pattern says to. This is a major source of confusion. Always check the pattern notes.
- Mark your first and last stitches. Use stitch markers to identify where each row begins and ends, making it easier to spot height issues early.
- Practice stitch transitions. Try a small swatch that alternates between single and double crochet to get a feel for the height difference.
Quick fix: If your row is too short, you may have forgotten to make the turning chain. If it’s too tall, you might have added an extra chain or worked into the wrong part of the stitch.
6. Holes and Gaps: Where Did That Come From?
Unexpected holes in your crochet work can be puzzling. They might appear between stitches, at the ends of rows, or near increases. While some patterns intentionally create lace-like holes, random gaps are usually a sign of a technique issue.
Common causes include:
- Pulling up loops too high in certain stitches
- Skipping stitches without realizing it
- Working into the wrong part of the stitch (e.g., the front loop only when the pattern calls for both)
- Improper increases or decreases
Why it matters: Holes can weaken the fabric, make it less warm, or ruin the visual design—especially in solid projects like amigurumi or garments.
How to fix it:
- Check your increase technique. When increasing, work two stitches into the same stitch. Don’t leave a gap between them.
- Avoid “ladder stitches” at row ends. These happen when the first stitch of a new row is looser than the rest. Pull the first stitch a little tighter, or try starting with a standing stitch instead of a turning chain.
- Use the correct stitch placement. Make sure you’re inserting your hook into the right part of the stitch—usually the top two loops unless otherwise specified.
- Tighten loose ends. Weave in ends securely to prevent gaps at seam points.
Pro tip: Hold your work up to the light. This makes holes and gaps instantly visible, so you can fix them before they become a bigger problem.
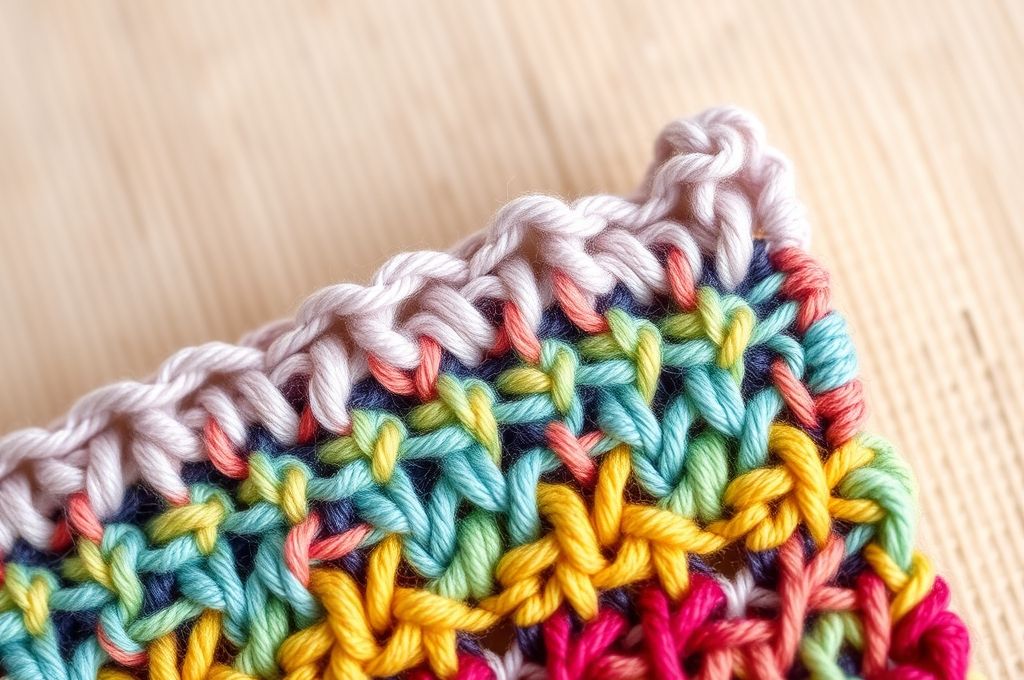
7. Curling Edges: Why Your Work Won’t Lie Flat
Curling is one of the most common frustrations in crochet. Your beautiful square starts to look like a taco, or your scarf rolls up at the edges. This usually happens due to tension imbalance or stitch type mismatch.
Tight stitches pull the fabric inward, causing it to curl. Loose stitches push it outward. When one side is tighter than the other—like the edges versus the center—the fabric warps.
Why it matters: Curling makes seaming difficult, affects the drape of garments, and can make a project look unfinished.
How to fix it:
- Block your work. Wet your finished piece, gently stretch it into shape, and pin it to dry. This relaxes the fibers and flattens the fabric.
- Adjust your tension. Pay attention to your edge stitches—they’re often tighter because you focus more on them.
- Add a border. A round or two of single crochet or crab stitch around the edge can stabilize the fabric and prevent curling.
- Choose the right stitch pattern. Some stitches (like dense single crochet) are more prone to curling. Looser stitches like double crochet or mesh patterns tend to lie flatter.
Bonus: If you’re working in the round and your project is cupping, you might be increasing too quickly. Double-check your pattern’s increase rate.
8. Yarn Tangles and Knots: The Annoying Distraction
Nothing kills the crochet flow like stopping every five minutes to untangle a knot. Yarn tangles happen when the yarn twists on itself as you work, especially with slippery or fuzzy fibers.
Why it matters: Tangles waste time, frustrate you, and can even damage delicate yarns if pulled too hard.
How to fix it:
- Let the yarn spin. As you crochet, the yarn naturally twists. Every few minutes, let your yarn ball hang freely so it can untwist.
- Use a yarn bowl or bag. These keep your yarn contained and reduce rolling and tangling.
- Store yarn properly. Keep skeins in a cool, dry place, and avoid stacking heavy items on top of them.
- Rewind into a center-pull ball. This reduces tension and makes it easier to work with.
Life hack: If you’re using multiple skeins of the same color, alternate every few rows to prevent visible shade differences (called “crabapple effect”).
9. Color Mistakes in Stripes or Fair Isle
Adding color can elevate your crochet—but it also introduces new risks. Dropped colors, twisted strands, or uneven tension between colors can ruin an otherwise beautiful project.
Common issues:
- Carrying yarn too tightly in the back (causing puckering)
- Not weaving in ends securely
- Mixing up color order in stripes
How to fix it:
- Carry yarn loosely. When changing colors, leave a small loop of the unused color at the edge so it doesn’t pull the fabric.
- Weave as you go. Thread ends onto a tapestry needle and weave them into the back of stitches as you work.
- Use bobbins for small color areas. This prevents long strands from tangling.
- Double-check your pattern. Mark off each row as you complete it to avoid repeating or skipping a color change.
10. Knowing When to Frog (And When to Keep Going)
Finally, one of the hardest decisions in crochet: to rip or not to rip?
“Frogging” (rip-it, rip-it—get it?) means undoing your work. It’s painful, yes. But sometimes, it’s necessary. Other times, a small mistake isn’t worth the time and frustration of undoing.
When to frog:
- The mistake affects the structure (e.g., wrong stitch count, twisted chain)
- It’s early in the project
- It will impact future rows
When to keep going:
- The error is small and hidden (like a single miscounted stitch in the middle of a large blanket)
- You’re almost finished
- The “mistake” adds character (handmade charm!)
Mindset shift: Mistakes aren’t failures. They’re part of the process. Every crocheter—from beginners to designers—makes them. What matters is how you respond.
Conclusion: Embrace the Journey, One Stitch at a Time
Crocheting is more than just making things—it’s about patience, practice, and personal growth. The mistakes we’ve covered—uneven tension, miscounted stitches, twisted chains, gauge issues, and more—are all part of the learning curve. And the good news? Every single one is fixable.
Instead of seeing errors as setbacks, try viewing them as clues. They tell you where to focus, where to practice, and where to grow. With the right tools and mindset, you can troubleshoot like a pro and turn frustration into confidence.
So the next time your work starts to curl, or you realize you’ve been crocheting into a twisted chain for three rows, take a breath. You’ve got this. Grab your hook, check your stitch count, and keep going. Because every stitch—perfect or not—is a step forward.
Now, we’d love to hear from you: What’s the most frustrating crochet mistake you’ve ever made—and how did you fix it? Share your story in the comments below. Let’s learn and grow together, one loop at a time.
And if you found this guide helpful, don’t keep it to yourself—share it with a fellow crocheter who might need a little encouragement. After all, every handmade journey is better with a little support. Happy crocheting! 🪝🧶

Daniele Ferreira is passionate about the world of crochet, dedicating her time to exploring techniques, creating unique pieces, and sharing her knowledge with beginners and aficionados alike. With attention to detail and creativity, she transforms yarn into true works of art, inspiring others to discover the beauty and joy of this manual art.


