
Introduction
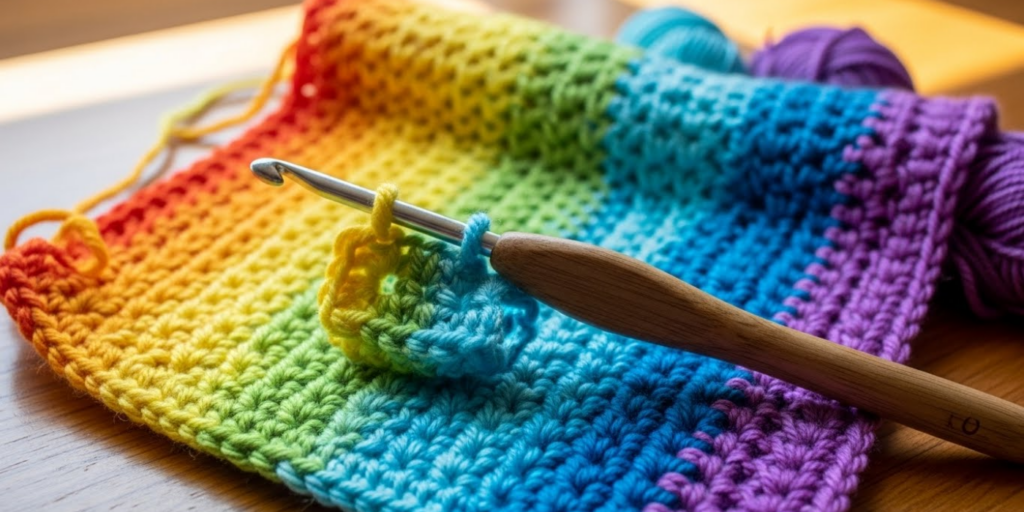
There’s something deeply satisfying about watching a crochet project transform under your hands—especially when you introduce bold new colors to bring your design to life. But if you’ve ever tried switching yarns mid-row, you know the frustration of unsightly knots, loose ends, or bumps that ruin an otherwise flawless piece. What if you could change colors seamlessly, without a single knot marring your work?
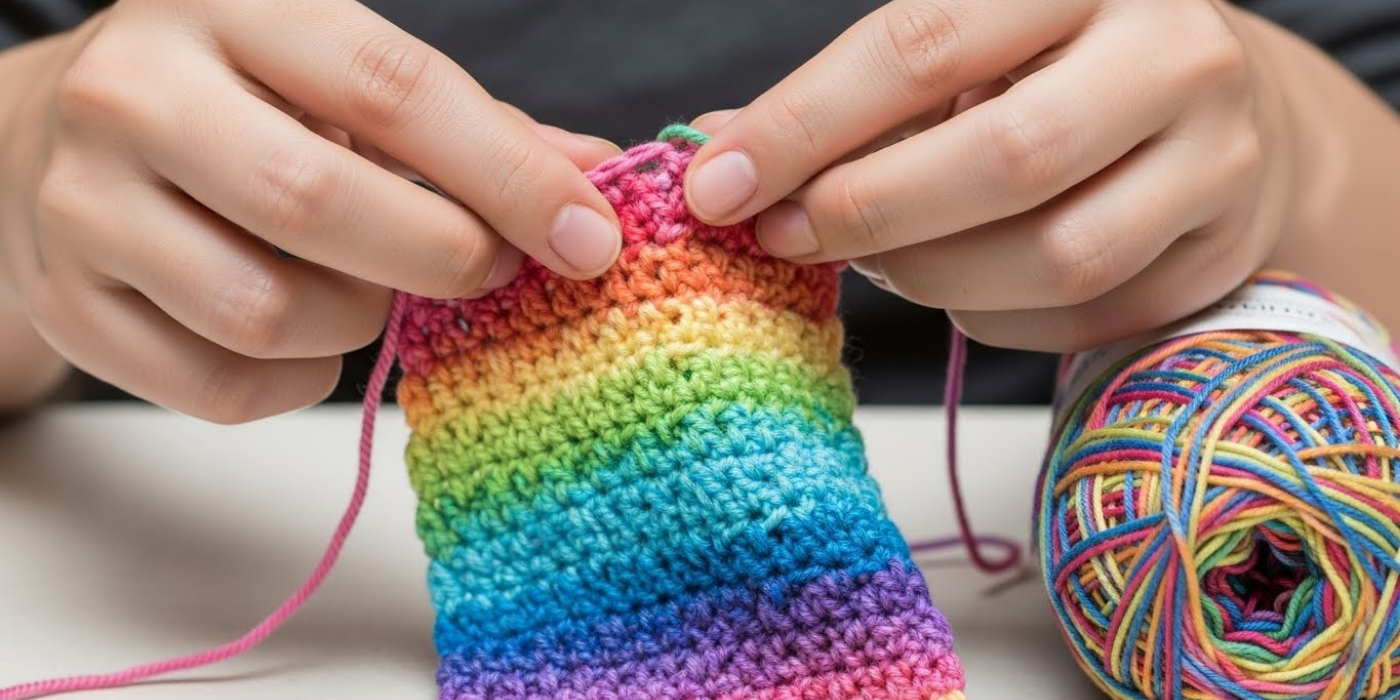
In this guide, you’ll learn how to change colors in crochet without visible knots—a technique that not only enhances the professional look of your projects but also saves you time on weaving in ends later. Whether you’re working on a striped blanket, a color-blocked sweater, or an amigurumi with intricate details, mastering clean color transitions is a game-changer.
We’ll walk you through four essential methods, from beginner-friendly tricks to advanced finishing techniques, all designed to keep your stitches smooth, your tension consistent, and your work looking polished on both sides. Plus, you’ll discover common pitfalls to avoid, tools that make the process easier, and creative ways to use color changes to elevate your designs. Ready to say goodbye to messy joins forever? Let’s dive in.
Why Clean Color Changes Matter (And Why Knots Don’t Work)
Before we get into the “how,” let’s talk about the “why.” You might be tempted to simply tie a knot when switching yarns—it seems quick and secure, right? But knots create lumps, weaken the yarn over time, and often peek through on the right side of your work. Worse, they can come undone after washing or wearing, leaving your project frayed.
In contrast, knot-free color changes offer several advantages:
- Smooth texture: No bumps or ridges interrupting your fabric.
- Durability: Properly woven-in ends last longer than tied knots.
- Professional finish: Essential if you sell your crochet items or gift them.
- Time efficiency: Weaving in ends as you go reduces post-project finishing work.
Think of your crochet like a painting: every color transition should feel intentional, not accidental. A visible knot is like a smudge on a canvas—it distracts from the art. By learning to change colors cleanly, you honor the craftsmanship of your work and make each stitch count.
Moreover, many crochet patterns—especially those with stripes, motifs, or intarsia—rely on frequent color changes. If each switch leaves a knot or tail, your project quickly becomes cluttered with loose ends. Mastering seamless transitions means your finished piece looks just as beautiful on the inside as it does on the outside.
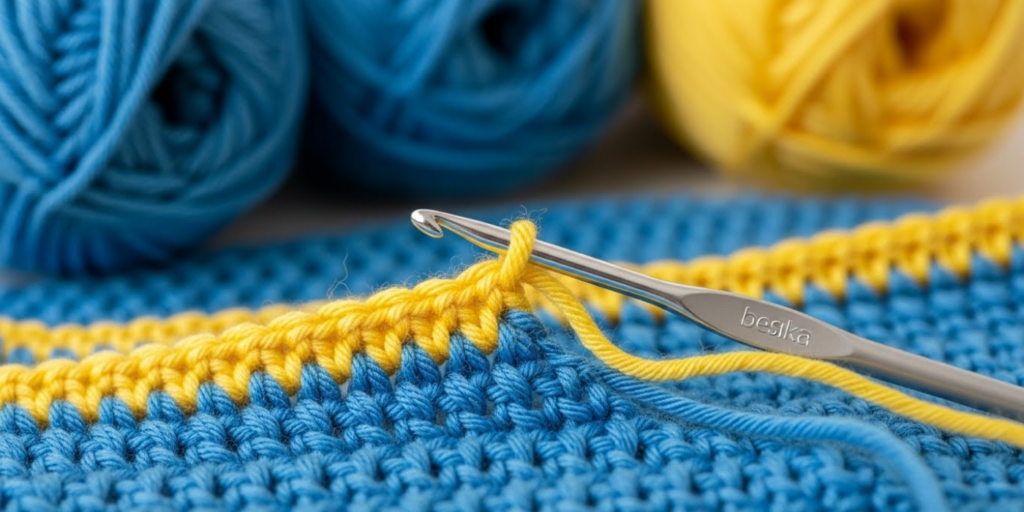
Method 1: The Last-Pull Technique (Perfect for Beginners)
The simplest and most widely used method for changing colors is often called the “last-pull” or “finish-with-new-color” technique. It works beautifully for single crochet, double crochet, and other basic stitches, and it requires no special tools—just your hook and two yarns.
Here’s how it works:
- Work your stitch as usual up to the very last step. For example, in a double crochet, you’d yarn over, pull through two loops, yarn over again—then stop before pulling through the final two loops.
- Drop the old yarn, leaving a 5- to 6-inch tail.
- Pick up the new yarn and use it to pull through those last two loops. Voilà—the new color is anchored!
- Continue crocheting with the new yarn.
Now, what about those loose tails? Don’t knot them! Instead:
- Carry the old tail along the back (or wrong side) of your work for the next 3–4 stitches, stitching over it with the new color. This “locks” the tail in place invisibly.
- Do the same with the new yarn’s tail after a few rows, or weave it in later with a yarn needle.
Pro tip: This method works best when changing colors at the end of a row. That way, the tails are hidden in the seam or edge, making them even less noticeable.
Why does this work so well? Because it uses the structure of the stitch itself to secure the new yarn. No glue, no knots—just smart stitching. And since you’re integrating the tails as you go, you’ll spend far less time finishing your project.
Method 2: Standing Stitches for Seamless Rounds
If you crochet in the round (like for hats, amigurumi, or coasters), you’ve likely struggled with joining new colors without creating gaps or lumpy joins. Enter the standing stitch—a magical technique that lets you start a new round or motif with a fresh color without a slip stitch or chain.
A standing stitch essentially “stands up” on its own, rooted securely in the fabric. It’s ideal for:
- Starting a new color after fastening off.
- Adding decorative elements mid-project.
- Creating clean joins in continuous rounds.
To make a standing single crochet:
- Hold the new yarn tail in your non-hook hand, leaving a 6-inch tail.
- Wrap the working end of the yarn around your hook (like a slip knot, but don’t pull it tight).
- Insert your hook into the desired stitch.
- Yarn over with the working yarn and pull up a loop (now you have two loops on your hook).
- Yarn over again and pull through both loops—just like a regular single crochet.
The tail from the slip-knot-like loop is now trapped inside the stitch base, making it secure without a knot.
For double crochet or taller stitches, the process is similar—you just build the height of the stitch as usual after securing the base.
Many crocheters avoid standing stitches because they seem tricky at first, but with practice, they become second nature. And the payoff? Flawless color transitions in the round, with no jog, no gap, and no visible join.
Method 3: Carrying Yarn and Intarsia-Style Weaving
When your pattern involves frequent color changes within a row—like in tapestry crochet or geometric designs—you need a way to manage multiple yarns without tangling or creating bulky spots. This is where yarn carrying and intarsia-style weaving shine.
Carrying yarn means letting the unused color “float” along the back of your work while you stitch with the active color. You only cut the yarn when you won’t need it again for several rows.
To carry yarn cleanly:
- Keep the float loose enough so your fabric doesn’t pucker, but tight enough so it doesn’t snag.
- When the float spans more than 4–5 stitches, catch it by working over it every few stitches to prevent long loops on the back.
For larger color blocks (like in a heart motif on a square), use the intarsia method: assign a separate bobbin or small ball of yarn to each color section. This prevents twisting and keeps floats minimal.
Why this matters: Carrying yarn reduces the number of ends you’ll need to weave in later—sometimes by dozens! And when done correctly, the back of your work looks almost as neat as the front.
Bonus tip: Use bobbins or yarn butterflies to manage small color sections. They keep your yarn from rolling away and minimize tangles—especially helpful for complex charts or pixel-style patterns.
Method 4: The Invisible Join + Starting Fresh (For Perfectionists)
Sometimes, especially in garments or high-end gifts, you want every detail to be museum-quality. That’s when you combine two advanced techniques: the invisible join at the end of a round and a clean start with a new color.
Step 1: Finish your round with an invisible join
Instead of slip stitching to the first stitch (which creates a visible bump), use this method:
- After your last stitch, cut the yarn, leaving a long tail.
- Thread the tail onto a yarn needle.
- Insert the needle into the top of the first stitch of the round (just under the “V”), then back through the top of your last stitch.
- Pull gently to close the gap. The join disappears.
Step 2: Begin the next round with a standing stitch (as described earlier) in your new color.
This combo is ideal for stripes in hats, socks, or sleeves where you want perfect alignment and no jog between colors. It takes a bit more time, but the result is circular color changes that look like they were printed, not stitched.
Designers like Dedri Uys and other crochet artists use this method in their premium patterns—and now you can too. It’s not just about aesthetics; it’s about respecting your craft and the people who will use or wear your creations.
Common Mistakes (And How to Avoid Them)
Even with the best techniques, a few missteps can undo your hard work. Here are the most frequent errors—and how to sidestep them:
- Cutting tails too short
→ Always leave at least 5–6 inches to weave in securely. Short tails pop out after washing. - Pulling new yarn too tight
→ This creates a puckered or uneven stitch. Keep tension consistent with the rest of your row. - Weaving ends in the same direction
→ Ends can work loose over time. Instead, weave one tail left, the other right to lock them in place. - Changing color in the middle of a stitch without planning
→ It can distort the stitch shape. Always complete the color change at a logical breaking point (e.g., end of stitch, end of row). - Ignoring the wrong side
→ If your project is reversible (like a scarf), both sides matter. Use techniques that look clean on both faces.
Remember: perfection comes with practice. Don’t be discouraged if your first few attempts aren’t flawless. Even seasoned crocheters frog (rip out) rows to get that perfect color join!
Tools That Make Color Changes Easier
While your hook and hands do most of the work, a few simple tools can elevate your results:
- Yarn needle with a blunt tip: Essential for weaving in ends without splitting fibers.
- Small bobbins or clothespins: Keep unused yarn colors tidy and tangle-free.
- Stitch markers: Mark where color changes happen in complex patterns.
- Scissors with a fine tip: For precise cutting close to the fabric (but not too close!).
Some crocheters even use dental floss threaders as makeshift yarn needles in a pinch—just another example of the craft’s ingenuity!
Creative Ways to Use Seamless Color Changes
Once you’ve mastered these techniques, you’ll start seeing endless design possibilities:
- Ombré blankets with gradual, knot-free shifts from light to dark.
- Custom name blankets where each letter is a different color—no messy joins.
- Seasonal decor like pumpkins with green vines or snowmen with colorful scarves.
- Wearable art: Striped cardigans, color-blocked beanies, or even crochet jewelry.
Imagine gifting a baby blanket where every stripe flows into the next like a rainbow—no bumps, no knots, just soft, continuous color. That’s the power of clean technique meeting creative vision.
Conclusion
Changing colors in crochet without visible knots isn’t just a technical skill—it’s an act of care. It shows you value your craft, your time, and the people who will enjoy your finished pieces. From the simple last-pull method to the elegant invisible join, each technique gives you more control, more creativity, and more confidence in your work.
We’ve covered four powerful approaches:
- The last-pull method for everyday projects,
- Standing stitches for perfect rounds,
- Yarn carrying and intarsia for complex designs,
- And invisible finishing for heirloom-quality results.
Each one builds on the idea that details matter—not just for appearance, but for durability and joy in the making.
Now it’s your turn. Grab your hook, choose two colors, and try one of these methods in your next project. Notice how smooth your fabric feels, how clean your lines look, and how proud you feel showing it off.
Have you tried any of these techniques before? Which one is your favorite? Share your tips, questions, or photos in the comments below—we’d love to see your colorful creations! And if this guide helped you, please share it with a fellow crocheter who’s tired of knots. Happy stitching!

Daniele Ferreira is passionate about the world of crochet, dedicating her time to exploring techniques, creating unique pieces, and sharing her knowledge with beginners and aficionados alike. With attention to detail and creativity, she transforms yarn into true works of art, inspiring others to discover the beauty and joy of this manual art.


