
Unleash Your Creativity, One Skein at a Time
Have you ever held a skein of yarn and imagined it in a completely different color—something bolder, softer, or uniquely yours? What if you could create that exact shade, right in your own kitchen? Welcome to the colorful world of hand-dyeing yarn, where art meets craft, and every thread tells a story.
Dyeing your own yarn isn’t just for professional textile artists or seasoned crafters. It’s a surprisingly accessible, fun, and deeply satisfying hobby that empowers you to customize your knitting, crochet, or weaving projects with one-of-a-kind hues. Whether you’re drawn to vibrant rainbows, earthy naturals, or dreamy ombré gradients, hand-dyed yarn adds a personal touch no store-bought skein can match.
In this beginner-friendly guide, we’ll walk you through everything you need to know to start dyeing yarn at home—safely, affordably, and creatively. From choosing the right materials and understanding fiber types to exploring different dyeing techniques and troubleshooting common issues, you’ll gain the confidence to turn plain yarn into wearable art.
Along the way, we’ll share practical tips, simple recipes, and inspiring ideas to spark your imagination. By the end, you won’t just know how to dye yarn—you’ll be excited to try it. So grab a cup of tea, roll up your sleeves, and let’s dive into the rainbow.
Why Dye Your Own Yarn? More Than Just Color
You might be wondering: Why go through the trouble of dyeing yarn when there are so many beautiful options already available? The answer goes beyond aesthetics—it’s about creativity, sustainability, and connection.
When you dye your own yarn, you’re not just changing its color—you’re making something truly original. Think about it: how often do you find the perfect shade for your dream sweater or baby blanket? Store-bought yarns often come in limited palettes, and even if you find a color you like, chances are someone else has the same one. Hand-dyed yarn gives you full control over the outcome. Want a dusty rose with hints of lavender? You can make it. Dreaming of a deep forest green that shifts into midnight blue? That’s yours too.
But it’s not just about uniqueness. Dyeing your own yarn is also a sustainable choice. Many crafters have leftover yarn from past projects—partial skeins, mystery blends, or forgotten stashes. Instead of letting them collect dust, you can revive them with a fresh coat of color. This reduces waste and breathes new life into old materials.
Moreover, the process itself is therapeutic. There’s something meditative about watching colors bloom in a pot, swirling and blending like liquid paint. It’s a hands-on creative outlet that connects you more deeply to your finished projects. When you knit a scarf from yarn you dyed yourself, every stitch carries a piece of your story.
And the best part? You don’t need a fancy studio or expensive equipment to get started. With just a few basic supplies and a little curiosity, you can begin your dyeing journey today.
Understanding Yarn Fibers: The Foundation of Color
Before you start mixing dyes, it’s essential to understand what your yarn is made of. Not all fibers absorb color the same way—and choosing the wrong dye for your yarn can lead to disappointing, uneven, or even ruined results.
Most yarns fall into two main categories: natural fibers and synthetic fibers. Natural fibers like wool, silk, cotton, and alpaca are protein or cellulose-based and work best with specific types of dyes. Synthetics like acrylic or nylon require different approaches and often don’t take dye as well.
Protein fibers (wool, silk, alpaca, mohair) are the easiest and most rewarding to dye at home. They absorb acid dyes beautifully, producing rich, vibrant colors. Wool, in particular, is a favorite among hand dyers because it’s readily available, affordable, and holds color exceptionally well.
Cellulose fibers (cotton, linen, bamboo) require fiber-reactive dyes, which bond chemically with the plant-based material. These dyes work best in alkaline conditions (using soda ash) and may require longer soaking times.
Synthetic fibers like acrylic don’t absorb traditional dyes effectively. While there are disperse dyes designed for synthetics, they require high heat and specialized equipment, making them less beginner-friendly.
So, what should you use for your first project? We recommend starting with 100% wool yarn. It’s forgiving, widely available, and responds beautifully to simple acid dyes. Avoid superwash wool if possible—it’s treated to be machine washable, which can affect dye absorption. Look for untreated, non-superwash wool for the best results.
Knowing your fiber type is the first step to successful dyeing. Once you’ve got that down, you’re ready to choose your dye.
Choosing the Right Dyes: Simplicity Meets Science
Now that you know what kind of yarn you’re working with, let’s talk about dyes. The market offers a wide range, but for beginners, acid dyes are the gold standard—especially for protein fibers like wool.
Acid dyes are water-soluble powders that bond with protein fibers in a mildly acidic environment (usually created with white vinegar or citric acid). They come in a vast array of colors and are easy to mix, allowing you to create custom shades. Brands like Lanaset, Jacquard Acid Dyes, and Dylon are popular among crafters for their reliability and vibrant results.
One of the biggest advantages of acid dyes is their precision. You can measure small amounts to create subtle tints or bold saturations. Plus, they’re relatively safe to use with proper ventilation and gloves—no fumes or toxic solvents.
But what if you want a more natural approach? You’re in luck. Natural dyes—made from plants, spices, and food waste—are a beautiful, eco-friendly alternative. Onion skins, avocado pits, turmeric, and black beans can all yield stunning colors. For example:
- Avocado pits create soft pinks and corals.
- Onion skins produce golden yellows and rusty oranges.
- Black beans give a range of blues and grays.
Natural dyes require a mordant—a substance like alum or iron that helps the color bind to the fiber. While they’re gentler on the environment, they can be less predictable and more time-consuming than synthetic dyes.
For your first dyeing project, we recommend starting with powdered acid dyes. They’re affordable, consistent, and perfect for learning color theory and technique. Once you’re comfortable, you can experiment with natural dyes or even combine both for unique effects.
Remember: always label your dyes and store them safely. And never use kitchen tools for both dyeing and food preparation—dedicate a separate set to avoid contamination.
Essential Supplies: What You Need to Get Started
The beauty of yarn dyeing is that you don’t need a lab or a workshop. Most of what you need can be found in your kitchen or local craft store. Here’s a simple checklist to get you started:
1. Yarn – Start with 100% non-superwash wool (about 100g). A plain, light-colored skein works best for your first try.
2. Dye – Choose a few acid dye colors (red, blue, yellow are great for mixing).
3. White vinegar – Acts as a mild acid to help the dye bond to the wool (about 1 cup per 4 cups of water).
4. Stainless steel or enamel pot – Never use aluminum or non-stick, as they can react with dyes.
5. Measuring spoons and cups – For consistent mixing.
6. Rubber gloves – Protect your hands from stains and chemicals.
7. Plastic squeeze bottles or jars – For applying dye (optional, for variegated effects).
8. Tongs, spoons, and stirring sticks – Designate these for dyeing only.
9. Plastic wrap or zip-top bags – Useful for low-water immersion or microwave dyeing.
10. Scale (optional) – Helps measure yarn and dye accurately.
You’ll also need access to a stove and running water. Work in a well-ventilated area, and cover your workspace with newspaper or plastic to protect surfaces.
Pro tip: Wind your yarn into a loose hank and tie it in 3–4 places with scrap yarn to prevent tangling during dyeing. Soak it in lukewarm water for at least 20 minutes before dyeing—this ensures even absorption.
With these supplies, you’re ready to create magic. But first, let’s explore the most common dyeing techniques.
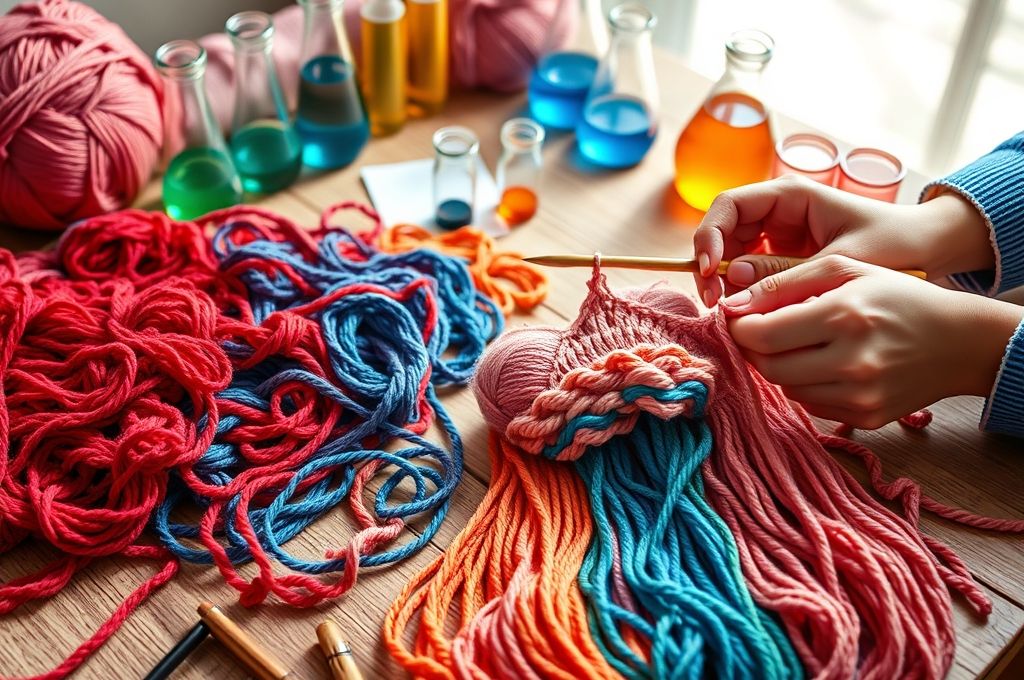
Popular Dyeing Techniques for Beginners
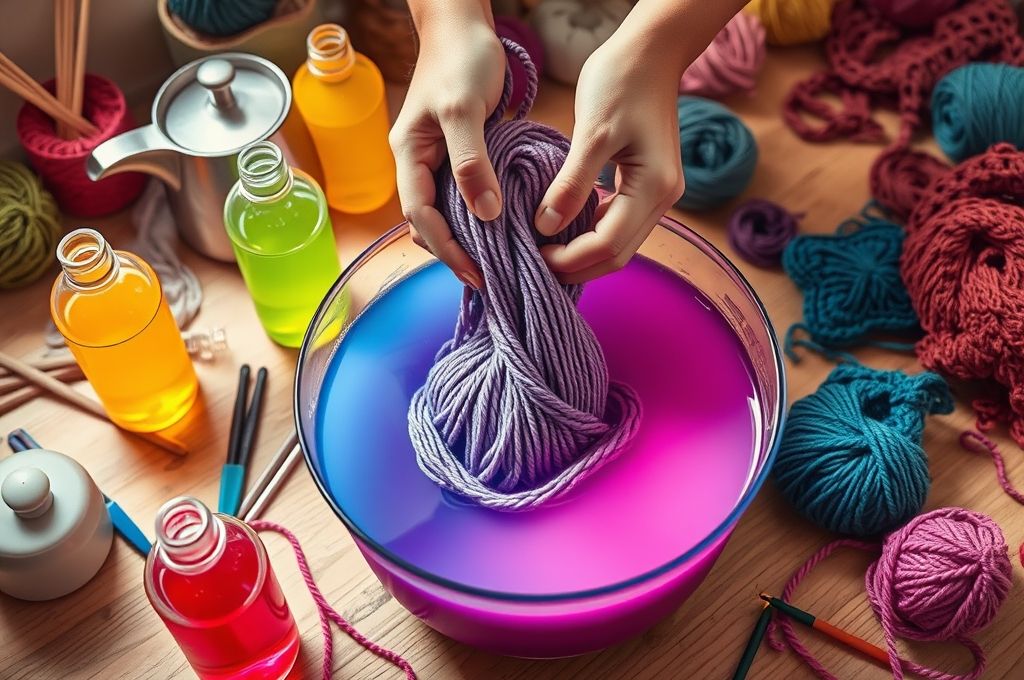
Now comes the fun part: actually dyeing the yarn! There are several methods, each producing different effects. As a beginner, it’s best to start simple and gradually experiment with more complex techniques.
1. Solid Dyeing (Stove-Top Method)
This is the most straightforward technique and perfect for consistent, even color.
- Fill a pot with enough water to let the yarn move freely.
- Add 1 tablespoon of white vinegar per 100g of yarn.
- Wet your yarn and gently place it in the pot.
- Sprinkle your dye powder over the water (use about 1/2 to 1 teaspoon per 100g for medium shades).
- Heat slowly to a simmer (do not boil—this can felt the wool).
- Stir gently for 20–30 minutes until the water clears.
- Remove from heat, let cool, then rinse in lukewarm water.
2. Variegated or Speckled Dyeing
Want a yarn with pops of color? Try this method.
- After soaking, place the wet yarn in a pan or tray.
- Sprinkle or squirt different dye powders or solutions directly onto the yarn.
- Cover with plastic wrap and steam in a pot or microwave for 2–3 minutes at a time until colors set.
- Let cool, then rinse.
3. Low-Water Immersion Dyeing
This creates soft, mottled effects with subtle variations.
- Use a small amount of water in a container.
- Crumple the wet yarn into the dye bath.
- Add different colors without stirring.
- Heat gently or let sit for several hours.
- The limited water creates organic, painterly patterns.
4. Dip-Dyeing or Ombré
Great for gradient effects.
- Prepare two or more dye baths with varying concentrations.
- Dip one end of the yarn into the darkest color, then gradually move it into lighter shades.
- Let dry between dips for cleaner transitions.
Each technique offers a different aesthetic. Try one at a time to see what you enjoy most. And don’t fear mistakes—sometimes the “happy accidents” yield the most beautiful results.
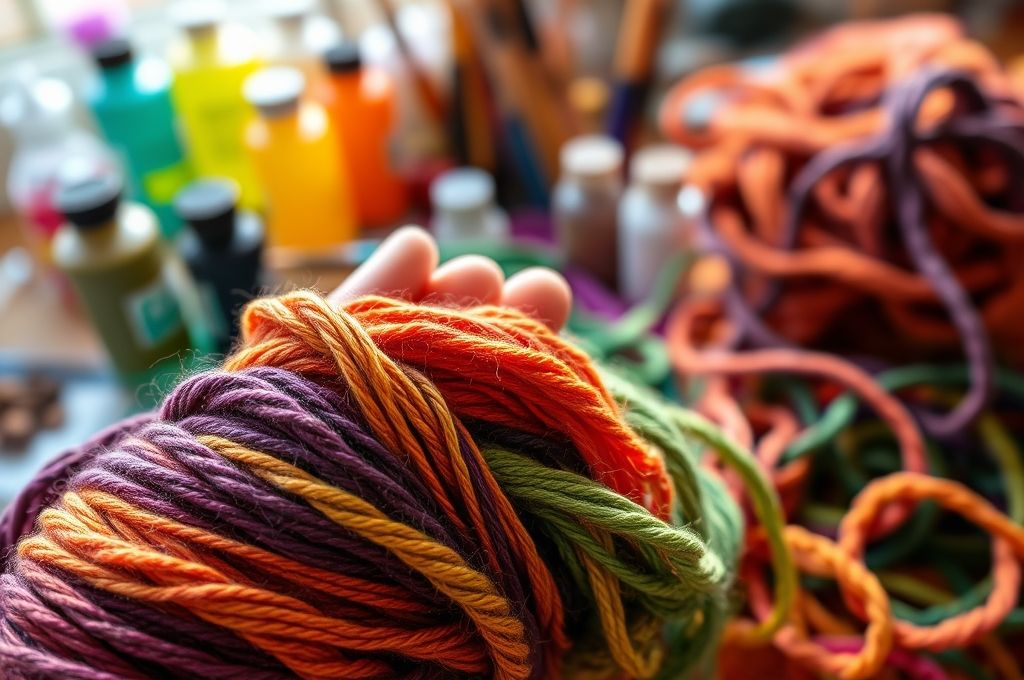
Color Theory Made Simple: Mixing Like a Pro
You don’t need to be an artist to mix colors, but a little knowledge goes a long way. Understanding basic color theory helps you create harmonious, intentional palettes.
Think of the color wheel: red, yellow, and blue are the primary colors. Mix two primaries to get a secondary color:
- Red + Yellow = Orange
- Blue + Yellow = Green
- Red + Blue = Purple
Mix a primary with a secondary to get a tertiary color, like red-orange or blue-green.
When dyeing yarn, start with small test batches. Mix dyes in a jar with a little hot water to see how they blend before applying them to yarn.
Want a soft lavender? Mix a tiny bit of red with blue. Need a warm beige? Combine small amounts of red, blue, and yellow.
Keep a dye journal to record your recipes. Note the fiber type, dye amounts, water temperature, and results. Over time, you’ll build a personal color library.
Also, consider color intensity. Adding more dye creates a deeper shade, but too much can waste product and muddy the color. Start light—you can always overdye later.
And remember: colors look different when wet versus dry. Always let your yarn dry completely before judging the final result.
With practice, you’ll develop an intuitive sense of color. Soon, you’ll be creating custom palettes for every project.
Safety and Cleanup: Dyeing Responsibly
While yarn dyeing is fun, it’s important to do it safely and responsibly. Dyes are chemicals, even if they’re labeled “non-toxic.” Here’s how to protect yourself and the environment:
Wear gloves and a mask when handling dye powders to avoid skin contact and inhalation.
Work in a well-ventilated area—open windows or use a fan to reduce fumes.
Never use food-grade utensils for dyeing. Label all tools clearly and keep them separate from your kitchen supplies.
Dispose of dye water responsibly. Small amounts of acid dye can be flushed with plenty of water, but check local regulations. Avoid pouring large quantities down the drain. Consider using a dye filter or letting the water evaporate and disposing of the residue in the trash.
Clean your workspace thoroughly after dyeing. Wipe down surfaces and wash tools with soap and water.
If you have pets or children, store dyes out of reach and dye when they’re not nearby.
For natural dyes, many ingredients are compostable (like onion skins or avocado pits), making them even more eco-friendly.
By following these simple precautions, you can enjoy dyeing safely and sustainably—knowing you’re not only creating beauty but also respecting your health and the planet.
Creative Ideas to Inspire Your First Project
Now that you’ve got the basics down, let’s talk inspiration. What can you do with your hand-dyed yarn?
1. Custom Sweaters or Shawls
Dye a matching set of skeins for a seamless garment. Or create a gradient effect by dyeing multiple skeins in progressive shades.
2. Art Yarn or Statement Pieces
Use bold, contrasting colors to make one-of-a-kind art yarn for wall hangings or decorative items.
3. Gift-Giving
Hand-dyed yarn makes a thoughtful, personalized gift. Pair it with a handwritten color recipe card.
4. Seasonal Palettes
Dye yarn in autumn oranges, winter blues, spring pastels, or summer brights to match the mood.
5. Story-Based Dyeing
Create colors inspired by a favorite book, place, or memory. For example, dye a “forest walk” palette using greens, browns, and mossy yellows.
6. Kids’ Projects
Let children help choose colors (using food-safe dyes or natural ingredients like Kool-Aid). It’s a fun, educational activity.
7. Fixing Old Yarn
Revive faded or unwanted yarn. Turn a dull beige into a rich caramel or a boring gray into a heathered purple.
The possibilities are endless. Your imagination is the only limit.
Troubleshooting Common Dyeing Issues
Even experienced dyers encounter hiccups. Here’s how to handle common problems:
1. Uneven Color
Cause: Yarn wasn’t soaked properly or was stirred too aggressively.
Solution: Always pre-soak yarn and handle it gently during dyeing.
2. Dye Bleeds When Washing
Cause: Not enough dye was used, or the yarn wasn’t heated long enough.
Solution: Simmer for at least 30 minutes and use the recommended dye-to-yarn ratio.
3. Colors Turn Out Muddy
Cause: Too many colors mixed together or dyes weren’t fully dissolved.
Solution: Mix dyes in hot water before applying. Stick to 2–3 colors max for clarity.
4. Yarn Felts
Cause: Agitation or sudden temperature changes.
Solution: Never agitate wool in hot water. Heat and cool gradually.
5. Pale Results
Cause: Too little dye or insufficient acid.
Solution: Increase dye amount or add more vinegar (up to 2 cups per pot).
Don’t get discouraged by mistakes. Each one teaches you something valuable. And remember: even “failed” yarn can be overdyed or used in a project where the color variation adds character.
The Joy of Creating Something Truly Yours
There’s a quiet magic in transforming a plain skein into a vibrant, hand-colored treasure. Dyeing your own yarn isn’t just about the end product—it’s about the journey. It’s about slowing down, engaging your senses, and making something with your hands.
In a world of mass-produced goods, handmade items carry a deeper meaning. When you wear a scarf made from yarn you dyed yourself, you’re not just wearing wool—you’re wearing patience, creativity, and care.
This craft connects you to centuries of textile traditions, from ancient dyers using plants and minerals to modern artists pushing the boundaries of color. And now, you’re part of that story.
So go ahead—experiment, play, and make mistakes. Let your kitchen become your studio. Let curiosity guide you. With every batch, you’ll grow more confident and inspired.
Conclusion: Your Colorful Journey Begins Now
Dyeing your own yarn is more than a craft—it’s a creative adventure. From choosing the right fiber and dyes to mastering techniques and mixing colors, you now have the tools to begin. Whether you’re looking to personalize your projects, reduce waste, or simply explore a new hobby, hand-dyeing offers endless possibilities.
We’ve covered the essentials: understanding fibers, selecting dyes, gathering supplies, trying different methods, and troubleshooting issues. Most importantly, we’ve emphasized creativity, safety, and joy.
Now it’s your turn. Start small. Dye one skein. Try a single color. See how it feels to hold something you made from start to finish.
And when you do, we’d love to hear about it! Share your first dyeing experience in the comments, post a photo of your colorful creation, or tag us on social media. Let’s build a community of makers who celebrate handmade beauty.
Remember: every expert was once a beginner. Your first skein might not be perfect—and that’s okay. What matters is that you tried. What matters is that you created.
So go ahead. Turn on the stove, mix a color, and let the rainbow unfold. Your yarn, your rules, your masterpiece.
Happy dyeing! 🎨🧶

Daniele Ferreira is passionate about the world of crochet, dedicating her time to exploring techniques, creating unique pieces, and sharing her knowledge with beginners and aficionados alike. With attention to detail and creativity, she transforms yarn into true works of art, inspiring others to discover the beauty and joy of this manual art.


