
Introduction: The Magic of Hidden Shaping
Have you ever looked at a beautifully contoured crochet garment and wondered how it curves so perfectly—without any visible increases or decreases? You’re not alone. Many crocheters assume shaping always means adding or subtracting stitches, but there’s a clever, nearly invisible technique that does the job just as effectively: short rows.
Short rows allow you to add dimension, curve, and fit to your projects simply by working partial rows. Whether you’re crafting a shawl with elegant draping, socks with better heel definition, or sweaters that hug the shoulders just right, short rows are your secret weapon. And the best part? Once you understand the basics, they’re surprisingly easy to master.
In this article, we’ll demystify crochet short rows—explaining exactly what they are, why they’re so useful, and how to execute them confidently. You’ll learn different methods (including the widely used wrap-and-turn), troubleshooting tips to avoid gaps, and real-world project ideas where short rows truly shine. By the end, you’ll be ready to add subtle, professional-level shaping to your crochet repertoire—no increases or decreases required.
Let’s dive in and discover how this “quiet” technique can make a loud impact on your work.
What Are Short Rows—and Why Do They Matter?
At its core, a short row is exactly what it sounds like: a row that doesn’t go all the way across your work. Instead of crocheting into every stitch to the end, you stop partway, turn your work, and start back in the opposite direction. Repeating this process in strategic places creates extra fabric in specific zones, which translates to shaping—without changing stitch counts.
Unlike traditional shaping (where you increase to widen or decrease to narrow), short rows manipulate the length of the fabric rather than its width. This subtle difference opens up possibilities for organic curves, asymmetrical hems, contoured shoulders, and better-fitting garments—all while keeping your stitch pattern intact.
Think of it like folding a piece of paper: if you fold one corner, that side becomes shorter while the opposite remains long. In crochet, short rows create a similar “fold” in the fabric by building up layers in one area. The result? A smooth, sculpted look that follows the body’s natural lines.
This technique is especially valuable for wearables. For example, a sweater back can be slightly longer at the center to accommodate the spine’s curve—something standard rectangles can’t achieve. Short rows make your handmade garments not just beautiful, but functional and comfortable.
And don’t worry—while short rows sound advanced, they’re accessible to intermediate crocheters and even adventurous beginners. With a little practice, you’ll wonder how you ever shaped without them.
The Wrap-and-Turn Method: Your Go-To Technique
Among the various ways to work short rows, the wrap-and-turn (W&T) method is the most popular—and for good reason. It’s reliable, minimizes gaps, and integrates seamlessly into most stitch patterns.
Here’s how it works:
- Work to your short-row turning point (as specified in your pattern).
- Slip the next stitch onto your hook as if to purl (even in crochet—yes, this borrowed knitting move helps!).
- Bring the yarn to the front, wrap it around the slipped stitch, then bring it back to the working position.
- Slip the stitch back to the left-hand needle (or leave it on your hook if you’re not using knitting terms literally—many crocheters simply hold the wrap in place with their fingers).
- Turn your work and continue crocheting back in the opposite direction.
Later, when you return to the wrapped stitch on a full row, you’ll crochet the wrap together with the stitch it’s wrapped around. This closes the potential gap and locks the shaping in place.
Why wrap? Without a wrap, turning mid-row can leave a small hole where the yarn changes direction. The wrap acts like a bridge, connecting the front and back layers of fabric so the transition stays tight and neat.
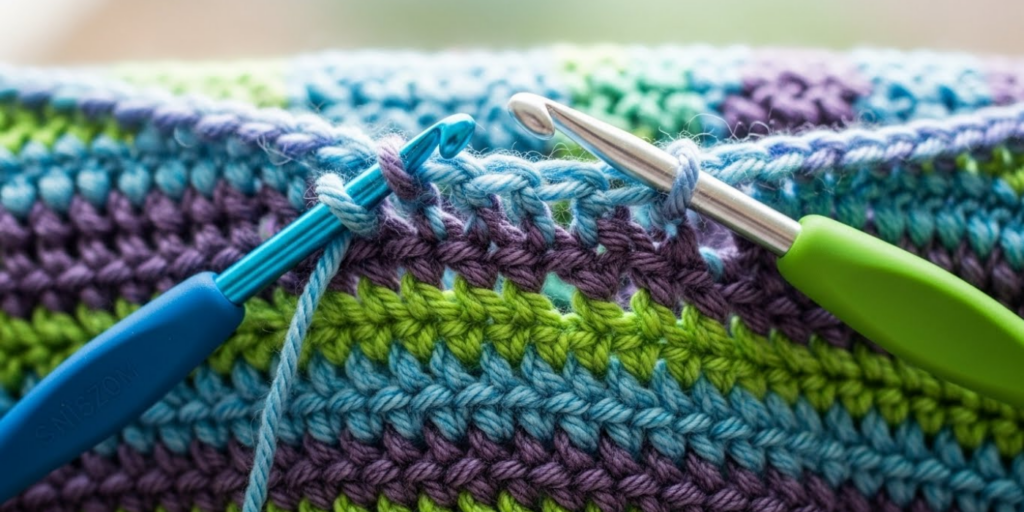
Don’t be intimidated by the steps—once you do it a few times, it becomes second nature. Many patterns will clearly mark where short rows begin and end, often using stitch markers or row counts. Start with a swatch in worsted-weight yarn and a simple stitch (like half-double crochet) to build confidence.
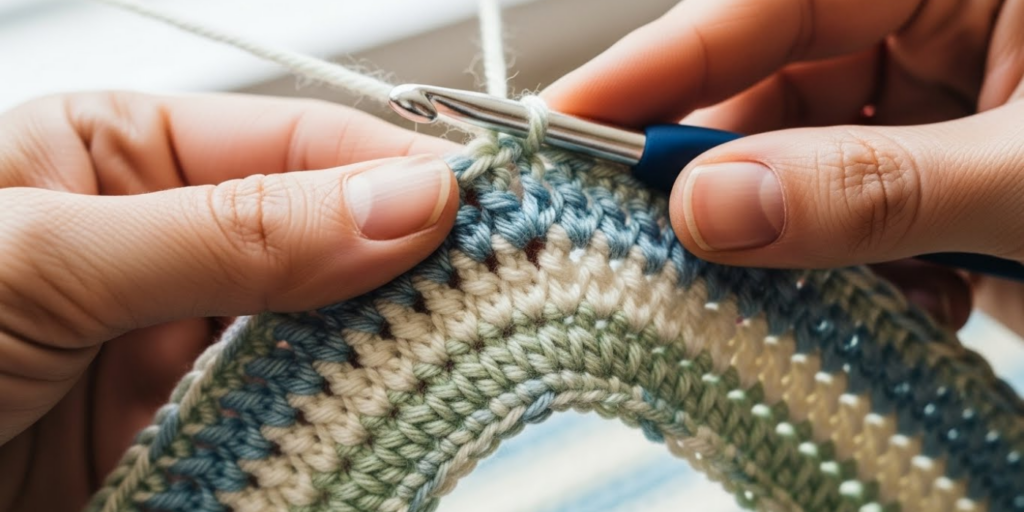
Pro tip: Use a contrasting scrap yarn for your first wrap-and-turn practice. It’ll help you see exactly where the wrap lands—and whether you’ve picked it up correctly on the return pass.
Beyond Wrap-and-Turn: Alternative Short Row Methods
While wrap-and-turn is the gold standard, it’s not the only game in town. Depending on your project or personal preference, you might explore other short row techniques that reduce visible wrapping or simplify the process.
1. German Short Rows
Originating in knitting but adaptable to crochet, this method skips the wrap entirely. Instead, after reaching the turning point, you pull up a very tall loop (almost like a double-chain), turn your work, and continue. On the return pass, you work into both the tall loop and the next stitch together. The result? A clean, gap-free turn with fewer steps. It’s particularly effective in dense stitch patterns like single crochet.
2. Shadow Wraps
Used primarily in knitting, this concept can be mirrored in crochet by using an extra chain or yarn-over at the turn point, then working into it later. It’s subtle and nearly invisible on the right side, ideal for lace or openwork projects where wraps might stand out.
3. No-Wrap Short Rows (Gap Acceptance)
In some cases—like textured blankets or amigurumi—you might choose to omit wraps entirely and simply turn mid-row. If the gap isn’t visible (or adds to the design’s charm), why complicate things? This minimalist approach works best when shaping isn’t under close scrutiny.
Each method has its strengths. Wrap-and-turn offers precision for fitted garments. German short rows speed up the process. And sometimes, simplicity wins. The key is matching the technique to your project’s needs and your own comfort level.
As you experiment, you’ll develop a sense for which method “feels” right for a given yarn, stitch, or silhouette. And that intuition is what separates good crocheters from great ones.
Real-World Applications: Where Short Rows Shine
Now that you know how to do short rows, let’s talk about where to use them. This technique isn’t just theoretical—it solves real design challenges in everyday projects:
- Shawl and Scarf Edges: Create dramatic crescent shapes or gently curved borders without changing stitch counts. The iconic “banana shawl” owes its swooping silhouette entirely to short rows.
- Shoulder Shaping in Sweaters: Instead of stair-step bind-offs, short rows give a smooth slope that mimics natural shoulder anatomy—leading to better drape and comfort.
- Heel Cups in Socks: While more common in knitting, crocheted socks can use short rows to build a deeper, more ergonomic heel pocket that stays in place.
- Bust Darts in Tops and Dresses: Add subtle shaping for a better fit without breaking your stitch pattern or creating bulky seams.
- Ear Flaps on Hats: Short rows let you build up extra fabric in just the right spot for cozy, functional ear coverage.
Perhaps the most underrated use? Fixing uneven tension. If one side of your work is tighter, a well-placed short row can balance the fabric without ripping back rows.
One clever designer even used short rows to create a 3D crochet bowl—proving this technique isn’t just for wearables. The takeaway? Short rows are a tool for problem-solving and creativity, not just shaping.
Next time you’re designing or customizing a pattern, ask yourself: Could a few short rows improve the fit or form here? You might be surprised how often the answer is yes.
Troubleshooting Common Short Row Challenges
Even seasoned crocheters run into hiccups with short rows. The good news? Most issues have simple fixes.
Problem: Gaps or Holes at Turn Points
This usually means the wrap wasn’t secured properly. Double-check that you’re working the wrap and stitch together on the return row. If using German short rows, ensure the tall loop isn’t too loose.
Problem: Lost Count or Confusion About Turning Points
Short row patterns can feel disorienting at first. Use stitch markers to flag turning points, and keep a row counter or notepad nearby. Highlight your pattern or use a digital tracker app to stay on course.
Problem: Uneven Fabric or Puckering
This often happens when short rows are too frequent or clustered. Space your turns evenly (e.g., every 4th row instead of every row) and block your finished piece to even out the drape.
Problem: Wraps Visible on the Right Side
In lighter colors or smooth yarns, wraps can show. Try using a yarn needle to weave in wraps discreetly after finishing, or switch to German short rows for a cleaner look.
Remember: blocking is your friend. A gentle steam or wet block can relax short-row shaping, smooth transitions, and minimize any lingering irregularities.
And if you make a mistake? Don’t frog the whole project. Often, you can carefully tink (unknit) back a few stitches, fix the wrap, and continue. Perfection isn’t the goal—intentional, functional shaping is.
Conclusion: Shape Your Crochet with Confidence

Crochet short rows might sound like a niche technique, but they’re a powerhouse for anyone serious about fit, form, and finesse. By working partial rows and using simple tricks like wrap-and-turn, you can sculpt fabric in ways that traditional increases and decreases simply can’t match.
We’ve explored what short rows are, walked through the most reliable methods, highlighted real-world uses, and tackled common pitfalls. Now, it’s your turn to try them. Start small—maybe add gentle curves to your next shawl or refine the shoulders of a sweater. With each project, your confidence will grow, and your finished pieces will look more professional and intentional.
Handmade doesn’t have to mean “homemade-looking.” Short rows are one of those quiet details that elevate your work from craft to couture—without shouting about it.
So grab your hook, choose a swatch-friendly yarn, and give short rows a go. You might just unlock a whole new dimension in your crochet journey.
What project will you shape with short rows first? Share your plans or questions in the comments below—we’d love to cheer you on! And if this guide helped, don’t forget to share it with a fellow crocheter who’s ready to level up their skills. Happy stitching!

Daniele Ferreira is passionate about the world of crochet, dedicating her time to exploring techniques, creating unique pieces, and sharing her knowledge with beginners and aficionados alike. With attention to detail and creativity, she transforms yarn into true works of art, inspiring others to discover the beauty and joy of this manual art.


