
The Magic of Texture in Knitting and Crochet
Have you ever run your fingers over a knitted scarf and felt like you were touching a story? Not just any fabric—but one with depth, rhythm, and personality? That’s the power of texture. It transforms a simple piece of yarn into something alive, expressive, and deeply personal. While basic stitches like single crochet or garter stitch are the foundation of any fiber artist’s journey, it’s the advanced stitch combinations that unlock a world of dimension, movement, and visual intrigue.
In this article, we’ll dive into the art of combining stitches to create unique textures that elevate your projects from ordinary to extraordinary. Whether you’re a seasoned crafter or someone who’s ready to level up, understanding how stitches interact—how they bump, ripple, twist, and flow—can revolutionize your work. From cozy blankets with 3D effects to garments that catch the light in fascinating ways, texture is the secret ingredient that makes handmade pieces unforgettable.
We’ll explore four powerful stitch combinations, each with its own character and purpose. You’ll learn not only how to execute them but also why they work and where they shine best. Along the way, I’ll share practical tips, real-life examples, and creative ideas you can use right away. By the end, you’ll see your yarn in a whole new light—and maybe even rediscover your love for the craft.
So grab your favorite hook or needles, and let’s start weaving some magic.
1. The Power of Alternating Stitches: Creating Rhythm and Depth
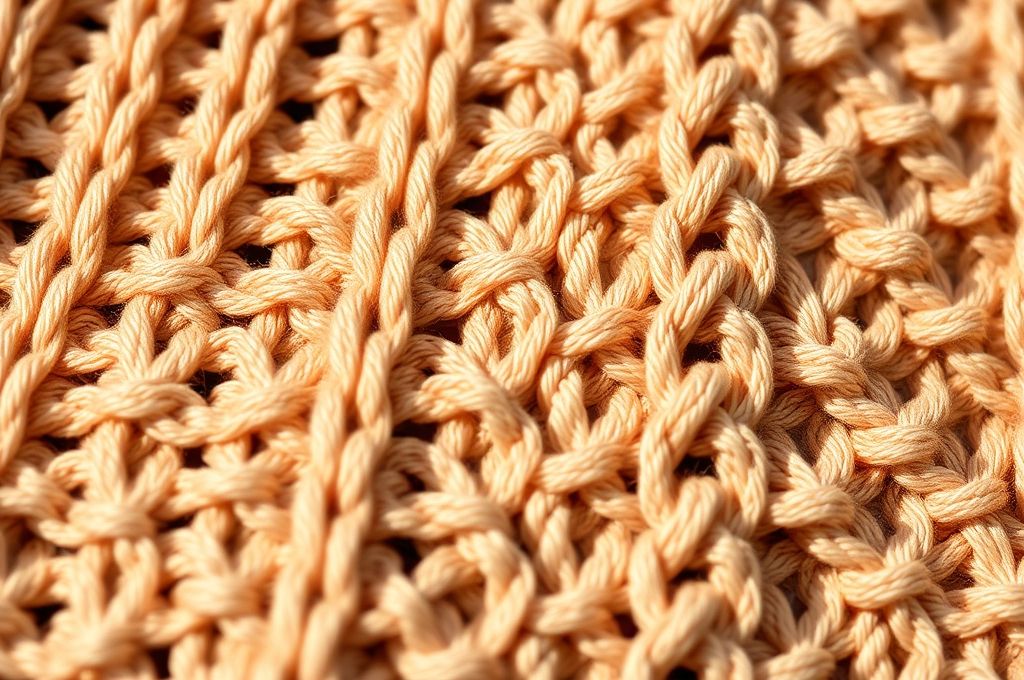
One of the simplest yet most effective ways to build texture is by alternating stitch types in a repeating pattern. Think of it like music: a single note is fine, but when you combine different notes in rhythm, you create a melody. In fiber arts, alternating stitches like knit and purl, single crochet and double crochet, or front post and back post stitches creates a rhythmic surface that dances with light and shadow.
Take the classic rib stitch, for example. By alternating knit and purl stitches in the same row (like k2, p2), you create vertical columns that pull in slightly, giving elasticity and a bumpy texture. But go a step further—try moss stitch, where you alternate knit and purl every row in a staggered pattern. The result? A dense, pebbled fabric that feels substantial and looks elegant.
Now, let’s talk crochet. The linen stitch (also called moss stitch in crochet) is made by alternating single crochet and chain stitches across rows. It produces a tight, woven-like texture that’s perfect for dishcloths, bags, or summer tops. The key here is consistency and tension—because the texture relies on even spacing, keeping your tension steady is crucial.
Pro Tip: When experimenting with alternating stitch patterns, work a swatch first. This lets you see how the fabric behaves and adjust your hook/needle size if needed.
Why does this matter? Because rhythm creates visual interest. A flat stockinette scarf might be warm, but a ribbed or moss-stitched one feels intentional. It says, “I was made with care.” And that’s what sets handmade apart.
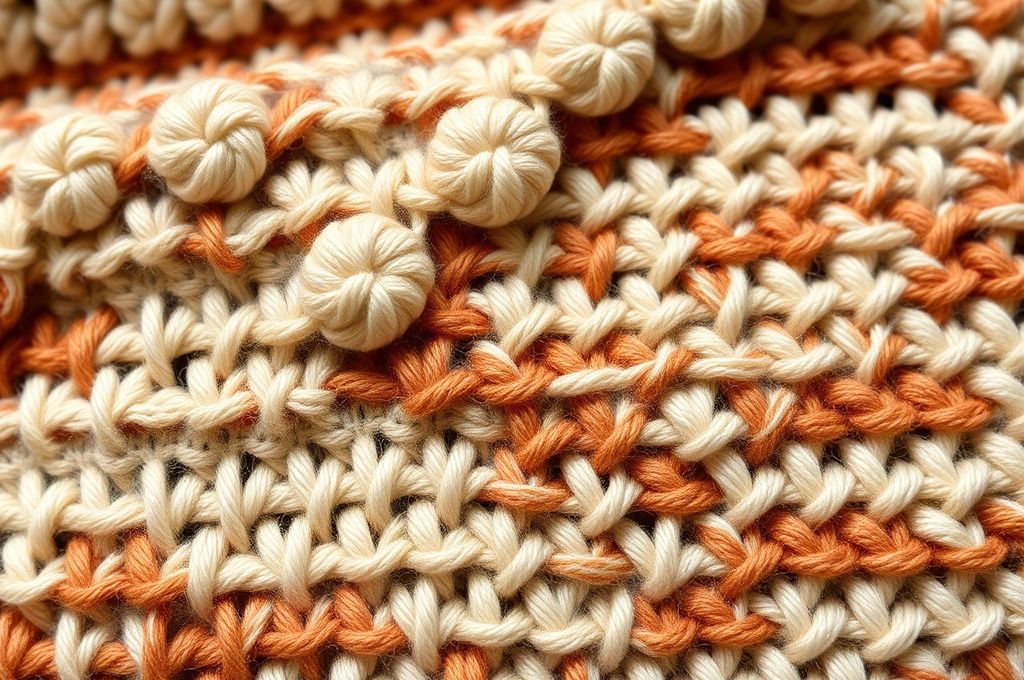
2. Post Stitches and Cables: Building 3D Effects
If alternating stitches add rhythm, post stitches and cables add drama. These techniques literally lift stitches off the fabric, creating bold, three-dimensional textures that you can see and feel. They’re the rockstars of advanced stitch combinations.
Let’s start with post stitches in crochet. Instead of inserting your hook into the top loops of a stitch, you go around the vertical “post” of a stitch from the row below. A front post double crochet (FPDC) wraps the front, pushing the stitch forward. A back post double crochet (BPDC) wraps the back, pulling it inward. When you alternate them in patterns—like FPDC, BPDC, FPDC—you create ridges that run vertically, mimicking the look of knitted cables.
Now, combine this with knitting: cable stitches. Using a cable needle, you temporarily hold stitches to the front or back while knitting others, then cross them over. A simple 4-stitch cable twisted every 6 rows creates a soft braid effect—perfect for sweaters, hats, or mittens. But don’t stop there. Try braided cables, honeycomb patterns, or traveling cables that shift position across the fabric.
Real-Life Example: Imagine a chunky winter hat with a central cable that spirals upward like a pinecone. It’s not just warm—it’s a conversation starter.
The beauty of these 3D textures is their tactile appeal. They invite touch. They catch light in dynamic ways. And they show off your skill without needing fancy colors or yarns. Even in a neutral tone, a well-executed cable or post stitch pattern stands out.
Bonus Tip: Use tighter tension when working cables or post stitches. Loose tension can make the fabric sag and lose its definition.
3. Combining Knit and Crochet: Hybrid Textures for Creative Freedom
Here’s where things get really fun: mixing knitting and crochet in the same project. While they’re often seen as separate worlds, combining them opens up a universe of hybrid textures you can’t achieve with one craft alone.
Think about it: knitting excels at smooth, flowing fabrics. Crochet shines in structure and bold shapes. When you blend them, you get the best of both.
For example, start a project in knit—say, a simple garter stitch scarf. Then, switch to crochet for the border using a shell stitch or popcorn stitch. Suddenly, the edges burst with dimension, like waves crashing against a calm sea. Or, knit the body of a cardigan but crochet the collar with a V-stitch or lace trim for a delicate contrast.
Another exciting option: crocheting over knitted fabric. This technique, often used in embellishment, lets you add texture on top. Try crocheting clusters or bobbles onto a knitted baby blanket. Each pop of texture becomes a sensory delight for tiny hands.
Creative Idea: Make a throw blanket with knitted squares in stockinette, then join them with a crocheted granny stripe that adds ridges and color. The result? A cozy, modern heirloom.
This hybrid approach is perfect for crafters who love to experiment. It breaks rules in the best way—turning “mistakes” into design features. And it’s surprisingly accessible. You don’t need to be an expert in both crafts to start. Just pick one base (knit or crochet), then add the other as an accent.
Why it works: It introduces contrast—smooth vs. bumpy, flat vs. raised, flowing vs. structured. And contrast is the heart of visual interest.
4. Color and Stitch Together: Painting with Yarn
Texture isn’t just about how a fabric feels—it’s also about how it looks. And when you combine advanced stitch patterns with colorwork, you’re essentially painting with yarn.
Consider Fair Isle knitting, where two colors are used in a single row to create intricate patterns. Now, pair that with a textured stitch like brioche. Brioche uses slipped stitches and yarn overs to create a lofty, squishy fabric with horizontal ridges. When you add color changes, those ridges become color waves—like stripes with depth.
Or in crochet, try tapestry crochet. This technique uses one color at a time, carrying the unused yarn behind the work to create detailed images or geometric patterns. Combine it with raised stitches like FPDC or BPDC, and suddenly your color design has shadows and highlights—almost like bas-relief sculpture.
Example: A market bag crocheted in tapestry with a forest scene, where the trees are made with front post stitches. The trunks pop forward, giving the illusion of depth.
The key here is planning. Use graph paper or digital tools (like Stitch Fiddle) to design your pattern before starting. Choose colors with enough contrast so the texture doesn’t get lost.
But don’t be afraid to play. Sometimes, the most beautiful textures come from happy accidents—like when a color shift lines up perfectly with a cable twist, creating a moment of surprise and delight.
Pro Insight: Use solid or semi-solid yarns for textured stitch patterns. Busy variegated yarns can obscure the details of your work.
5. Textured Stitch Combinations for Different Projects
Now that we’ve explored the how, let’s talk where. Not all textures work for all projects. Matching the right stitch combination to the right item ensures both beauty and function.
For Wearables (Sweaters, Hats, Scarves):
Choose textures that are soft against the skin but still expressive. Moss stitch, broken rib, and small cables are excellent. Avoid overly bumpy stitches like heavy popcorns or dense bobbles—they can be itchy or stiff. A cable panel down the front of a sweater adds sophistication without sacrificing comfort.
For Home Decor (Blankets, Pillows, Rugs):
Go bold! These items can handle more aggressive textures. Try basketweave stitch (alternating FPDC and BPDC in blocks), herringbone double crochet, or waffle stitch. These create deep pockets of light and shadow, making your decor feel luxurious and handcrafted.
DIY Project Idea: Make a textured pillow using alternating rows of knit and purl in a 4×4 block pattern (seed stitch variation). It’s simple but stunning.
For Accessories (Bags, Coasters, Headbands):
Durability matters. Use tight, structured stitches like linen stitch, granite stitch, or Tunisian simple stitch. These resist stretching and wear well. Add texture with color blocks or post stitch borders for a polished look.
For Baby Items:
Softness is king. Stick to gentle textures like single crochet in rows (with consistent tension) or rice stitch (alternating front and back loop singles). Avoid anything too raised or scratchy.
Matching texture to purpose isn’t just practical—it’s respectful. It shows you care about how your creation will be used, not just how it looks.
6. Troubleshooting Common Texture Issues
Even the most beautiful stitch combinations can go sideways. Here are common texture problems—and how to fix them.
Problem 1: Fabric Curling
Knit fabrics, especially stockinette, tend to curl at the edges.
✅ Solution: Add a textured border. A few rows of garter stitch (knit every row) or seed stitch will stabilize the edges. In crochet, a scalloped or crab stitch edging can weigh down the fabric.
Problem 2: Uneven Tension
Texture relies on consistency. If some stitches are loose and others tight, the pattern gets lost.
✅ Solution: Practice on a swatch. Use stitch markers to track pattern repeats. And don’t be afraid to frog (rip out) and rework—every mistake teaches you something.
Problem 3: Pattern Loses Definition
Sometimes, your beautiful cable disappears into a blur.
✅ Solution: Check your yarn. Smooth, medium-weight yarns (like worsted acrylic or wool) show texture best. Avoid fuzzy or eyelash yarns. Also, block your finished piece—wet or steam blocking can open up stitches and sharpen details.
Problem 4: Colorwork Muddles Texture
Too many colors can make a textured pattern hard to see.
✅ Solution: Limit your palette. Use 2–3 colors max, with high contrast. Or, use color only in the background and let texture do the talking.
Encouragement: Every crafter faces these issues. What matters is not perfection—but persistence.
7. Inspiration from Nature and Architecture
Sometimes, the best stitch ideas come not from pattern books, but from the world around us.
Look at tree bark—rough, grooved, layered. That’s a perfect inspiration for a cable and post stitch combination. Or ocean waves—smooth rises and falls. Try a wave stitch in crochet with alternating tall and short stitches.
Architecture is another goldmine. The arched windows of a cathedral? Mimic them with shell stitches. The brick pattern on a wall? Recreate it with basketweave or linen stitch. Even honeycombs inspire hexagonal crochet motifs with raised centers.
Creative Challenge: Take a walk. Snap photos of textures you see—sidewalk cracks, woven baskets, leaf veins. Then, ask: How can I recreate this with yarn?
This kind of observation deepens your connection to your craft. It turns knitting and crochet from hobbies into forms of expression. You’re not just following patterns—you’re interpreting the world.
And here’s a secret: some of the most admired textile artists started by copying nature. So don’t feel like you need to invent something entirely new. Just start with what inspires you.
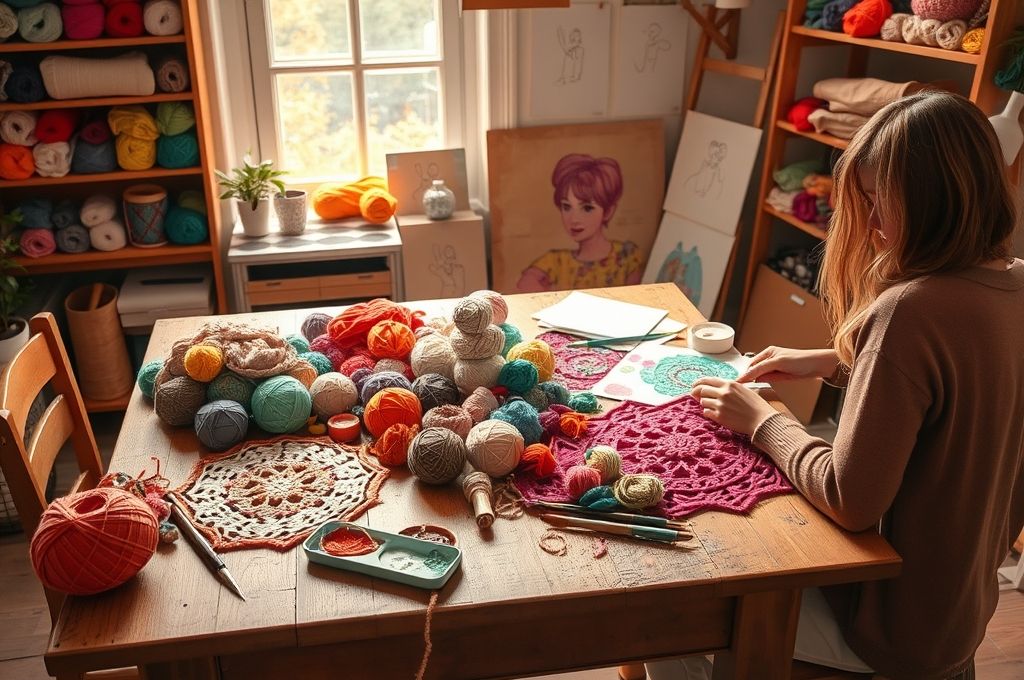
8. Building Your Own Stitch Library
Now that you’ve seen what’s possible, it’s time to create your own stitch combinations. Think of yourself as a composer, mixing notes (stitches) to create your own symphony.
Start small. Pick two stitch families:
- Base Stitches: Single, double, treble crochet; knit, purl
- Texture Stitches: Post stitches, bobbles, cables, clusters
Then, experiment. Try:
- Double crochet + FPDC every 3rd stitch
- Knit 2, purl 2, then add a cable twist every 8 rows
- Alternating rows of moss stitch and linen stitch
Keep a texture journal. Swatch each combination, label it, and note:
- Hook/needle size
- Yarn type
- How the fabric feels
- Best uses (e.g., “great for scarves”)
Over time, you’ll build a personal library of go-to textures. And when someone asks, “Where did you get that pattern?” you can smile and say, “I made it.”
Remember: Innovation doesn’t require complexity. Sometimes, the most striking textures come from the simplest changes—like shifting a cable one stitch to the left.
Conclusion: Weaving Your Story, One Stitch at a Time
Texture is more than a technique—it’s a language. It speaks of patience, creativity, and care. Through advanced stitch combinations, you’re not just making fabric. You’re crafting experiences: the cozy hug of a cable-knit sweater, the satisfying crunch of a linen-stitch bag, the awe of a hand-crocheted wall hanging that looks like art.
We’ve explored how to create rhythm with alternating stitches, add drama with post stitches and cables, blend knitting and crochet for hybrid magic, and paint with color and texture. We’ve looked at real-world applications, solved common problems, and drawn inspiration from nature and design. Most importantly, we’ve seen that texture isn’t just about how something looks or feels—it’s about how it connects.
So what’s next? Pick up your yarn. Try one new stitch combination this week. Make a swatch. Take a photo. Share it with a friend or online community. Let your hands remember that you are capable of making something beautiful.
And when you do, remember: every bump, ridge, and wave in your work is a mark of your attention, your time, your heart. That’s the real magic of advanced stitch combinations. They don’t just create texture—they reveal you.
Now, I’d love to hear from you: What’s your favorite textured stitch? Have you ever combined techniques in a surprising way? Share your story in the comments below—let’s inspire each other.
Happy crafting! 🧶

Daniele Ferreira is passionate about the world of crochet, dedicating her time to exploring techniques, creating unique pieces, and sharing her knowledge with beginners and aficionados alike. With attention to detail and creativity, she transforms yarn into true works of art, inspiring others to discover the beauty and joy of this manual art.


