The Hidden Magic of the Final Stitches
You’ve just completed your knitting project. The last stitch is cast off, the pattern is followed to perfection, and the piece looks… almost ready. But something feels off. The edges are a little uneven. There are loose yarn tails poking out. The shape doesn’t quite sit right. Sound familiar?
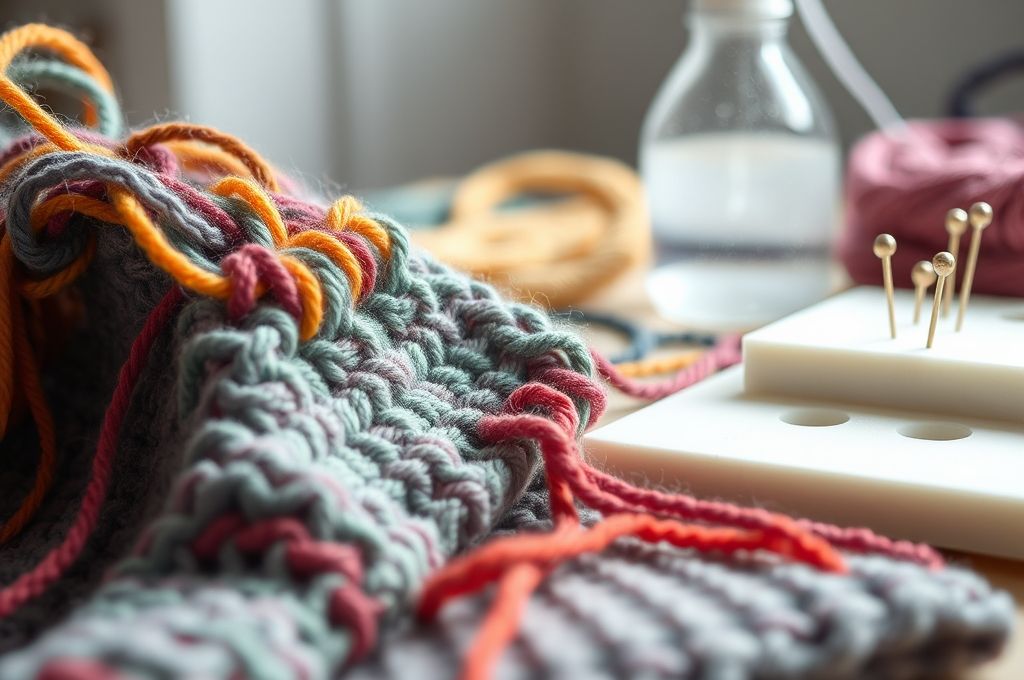
This is where many knitters stop — proud of their work but unaware that the true masterpiece begins after the final stitch. In the world of knitting, the real artistry isn’t just in the rows and patterns — it’s in the finishing touches. Specifically, two critical steps: weaving in ends and blocking. These techniques may seem like small details, but they transform a handmade piece from “nice” to “professional.”
Weaving in ends secures loose yarn tails so your project won’t unravel. Blocking shapes and smooths your work, enhancing drape, symmetry, and overall polish. Together, they’re the secret sauce that elevates your knitting from craft to art.
And yet, so many knitters rush through or skip these steps entirely. Maybe you’ve done it too — tucked a tail quickly and called it a day. But what if a few extra minutes could make your scarf flow like silk, your sweater fit like a dream, or your blanket lie perfectly flat?
In this article, we’ll explore why finishing matters, how to weave in ends like a pro, and the transformative power of blocking. Whether you’re a beginner or a seasoned knitter, these techniques will change the way you see your finished projects. Let’s dive in and discover how the end of your knitting journey is where the magic truly begins.
Why Finishing Matters: More Than Just a Clean Look
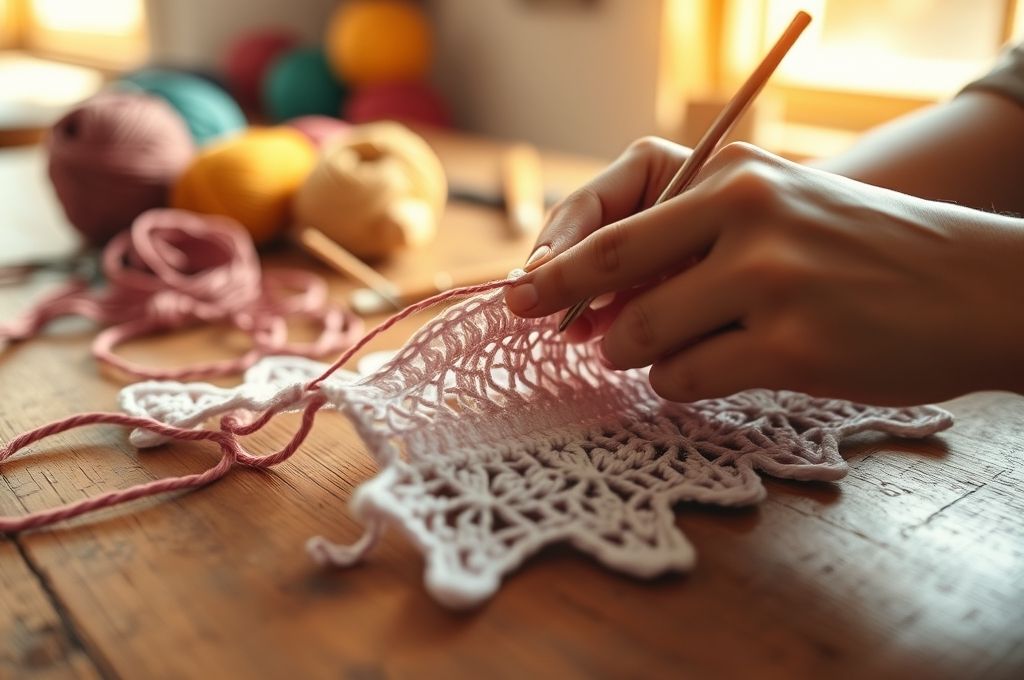
It’s easy to think of weaving in ends and blocking as optional — the “extra credit” of knitting. After all, your project is done, right? But here’s the truth: a project isn’t truly finished until it’s finished well.
Imagine wearing a beautifully knitted sweater, only to have a loose end catch on your necklace and unravel halfway through the day. Or imagine gifting a handmade blanket that curls at the edges and doesn’t lie flat on the couch. These aren’t just minor flaws — they’re missed opportunities to showcase your skill and care.
Finishing touches do more than improve appearance. They:
- Protect your work from wear and unraveling.
- Enhance the drape and fit of garments.
- Reveal the true beauty of stitch patterns, especially lace or cables.
- Boost your confidence as a knitter — knowing your work is polished and durable.
Think of it like baking a cake. You wouldn’t serve it straight from the oven, still warm and unglazed. You’d let it cool, add frosting, maybe a few berries on top. The same goes for knitting. The final steps aren’t an afterthought — they’re part of the recipe.
And here’s the best part: these techniques are accessible to everyone. You don’t need fancy tools or years of experience. With a little patience and the right approach, you can turn any project into something you’re proud to wear, gift, or display.
So before you put down your needles for good, let’s talk about how to weave in those ends — the right way.
Weaving in Ends: The Invisible Art of Securing Your Work
Weaving in ends might sound simple — just thread a yarn tail through a few stitches and call it a day. But done poorly, it can lead to bumps, loose threads, or even holes over time. Done well, it’s completely invisible and secure for years.
The goal is to anchor the yarn without distorting the fabric. You want it to stay put, blend in, and disappear.
Tools You’ll Need
- A blunt-tipped tapestry needle (not a sewing needle — it can split yarn).
- Your finished project with loose ends.
- Scissors (for trimming, but wait until after weaving).
The Basics: How to Weave In Ends
- Thread the yarn tail through the needle.
- Follow the path of the stitches — go under the same bars or loops that the original yarn followed. This keeps tension even.
- Travel at least 2–3 inches through the back of the work.
- Change direction — weave back the other way for another inch or two. This creates a “lock” that resists pulling out.
- Trim the excess — but only after you’re sure it’s secure.
Pro Tip: Weave in ends as you go whenever possible. If you’re working stripes or switching colors, weave in that tail right after the next few rows. It saves you from a mountain of ends at the end!
Special Cases
- Variegated yarns: Be extra careful — a wrong path can show color changes. Stick to the same color section.
- Fuzzy or slippery yarns (like mohair or silk): Weave in longer (4+ inches) and consider a second pass for security.
- Seamed garments: Weave ends along the seam line so they’re hidden in the join.
Remember: neatness here pays off later. A well-woven end won’t come loose, won’t poke out, and won’t ruin your beautiful fabric. It’s the quiet hero of your knitting.
Blocking: The Secret Weapon Every Knitter Needs
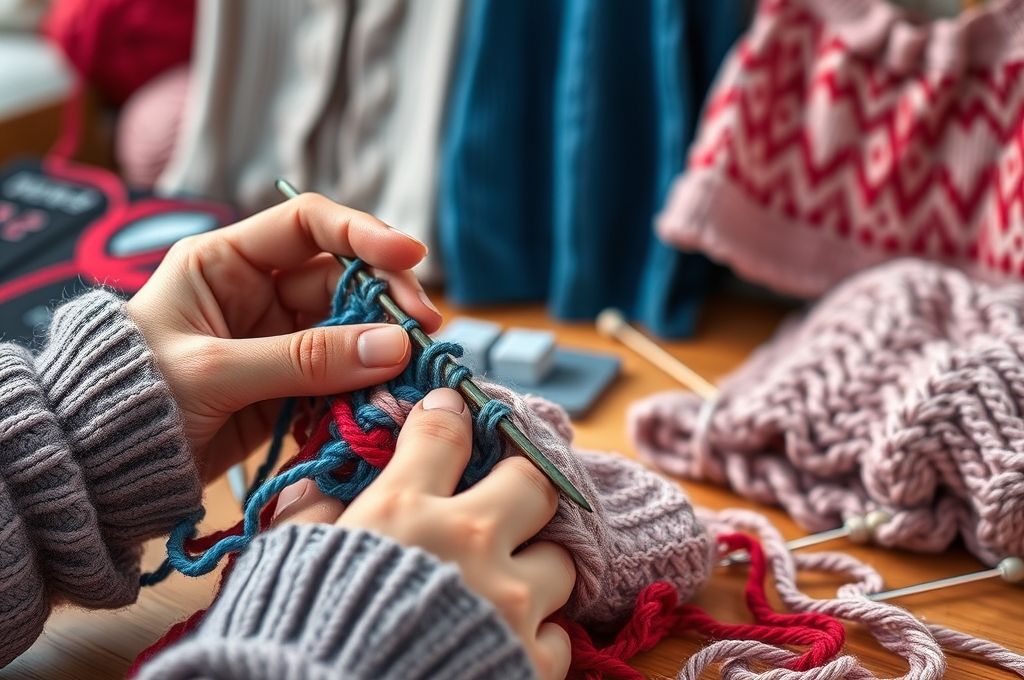
Now, let’s talk about the real game-changer: blocking. If weaving in ends is about security, blocking is about transformation.
Have you ever finished a shawl only to find it’s all lopsided? Or a sweater that feels stiff and boxy? Blocking fixes that. It’s the process of wetting, shaping, and drying your knitted piece to enhance its final form.
Think of it like ironing a shirt — but for knitting. It smooths out stitches, opens up lace patterns, evens tension, and gives your work a professional finish.
Why Block? The Benefits Are Real
- Lace opens up — intricate patterns become visible and elegant.
- Edges lie flat — no more curling on scarves or blankets.
- Stitches even out — hides minor tension inconsistencies.
- Garments fit better — you can gently stretch or shape pieces to size.
- Yarn blooms — especially wool, which softens and fluffs up when wet.
Blocking isn’t just for lace shawls. It works wonders on sweaters, hats, baby blankets, and even amigurumi.
The Three Main Types of Blocking
- Wet Blocking – Soak the piece in water, gently squeeze out excess, then shape and pin. Best for wool, alpaca, and other animal fibers.
- Spray Blocking – Mist the piece with water instead of soaking. Great for delicate items or when you want light shaping.
- Steam Blocking – Hold a steam iron above the fabric (don’t touch it). Ideal for acrylic or blended yarns that can’t get wet.
Each method has its place. Wet blocking gives the most dramatic results, while spray and steam are quicker and safer for sensitive fibers.
Blocking isn’t magic — it’s science and care. And once you try it, you’ll wonder how you ever skipped it.
Step-by-Step: How to Wet Block a Knitted Shawl
Let’s walk through a real example: wet blocking a lace shawl. This is where blocking shines brightest.
What You’ll Need
- A clean sink or basin
- Lukewarm water
- Mild wool wash (like Soak, Eucalan, or Kookaburra)
- Towels
- Blocking mats (foam puzzle mats work great)
- Rust-proof T-pins or blocking wires
- Measuring tape
The Process
- Soak the Shawl
Fill your basin with lukewarm water and a small amount of wool wash. Submerge the shawl and let it soak for 15–20 minutes. Gently press down — don’t rub or agitate. - Remove and Drain
Lift the shawl out (it’ll be heavy!). Gently squeeze — don’t wring — to remove excess water. Roll it in a clean towel and press to absorb more moisture. - Lay Flat and Shape
Place the shawl on blocking mats. Start shaping from the center outward. Use your hands to smooth and stretch gently. - Pin It Down
For lace, pin the edges to open up the pattern. Use T-pins every few inches. For scalloped edges, follow the curve. For straight edges, use a ruler.Optional: Use blocking wires threaded through the edge stitches for perfectly even lines. - Let It Dry
Leave it for 24–48 hours, depending on thickness and humidity. Don’t rush it!
When dry, unpin — and prepare to be amazed. The shawl will be softer, larger, and full of life. The lace will bloom, the drape will improve, and the whole piece will look like it came from a boutique.
And the best part? You did that. With water, patience, and care, you transformed your knitting.
Blocking for Different Fibers: Know Your Yarn
Not all yarns react the same way to blocking. Understanding your fiber is key to getting great results — and avoiding disaster.
Animal Fibers (Wool, Alpaca, Cashmere)
- Highly responsive to wet blocking.
- Can stretch significantly and hold shape.
- Wool has memory — it “remembers” its blocked shape.
- Great for garments and lace.
Tip: Superwash wool blocks well but doesn’t bloom as much as non-superwash.
Plant Fibers (Cotton, Linen, Bamboo)
- Less elastic — they don’t stretch as much.
- Can be wet blocked, but results are subtler.
- Linen actually improves with blocking — it softens over time.
- Great for dishcloths, summer tops, and home decor.
Synthetic Fibers (Acrylic, Nylon, Polyester)
- Do not respond to water — wet blocking won’t do much.
- Use steam blocking instead.
- Be careful: too much heat can melt or distort acrylic.
- Hold a steam iron 1–2 inches above the fabric, steam, then pin and cool.
Blends
- Mix of behaviors.
- If it’s 50% wool or more, wet blocking usually works.
- Check care labels when in doubt.
Golden Rule: When unsure, test on a swatch first. Block a small knitted square to see how the yarn reacts.
Respecting your fiber means your project will look its best — and last longer.
Common Mistakes (and How to Avoid Them)
Even experienced knitters make mistakes with finishing. Here are the most common — and how to fix them.
1. Weaving in Too Little
Short weaves come loose over time.
✅ Fix: Always weave at least 2–3 inches, and change direction.
2. Weaving in the Wrong Path
Going across instead of with the grain can pucker the fabric.
✅ Fix: Follow the stitch path — under the same loops the yarn traveled.
3. Skipping Blocking Entirely
“I’ll just wear it as-is.” But uneven tension and curling edges distract from your work.
✅ Fix: Block every project, even if it’s just a quick spray.
4. Pulling Too Hard When Blocking
Over-stretching can distort lace or make sweaters too big.
✅ Fix: Stretch gently and evenly. Pin gradually, checking symmetry.
5. Blocking Acrylic with Water
Wet blocking acrylic does nothing — it needs steam.
✅ Fix: Use steam blocking for synthetics.
6. Removing Pins Too Soon
If the piece isn’t fully dry, it’ll lose its shape.
✅ Fix: Be patient. Wait 24+ hours, especially in humid climates.
Avoiding these mistakes isn’t about perfection — it’s about respecting your time and effort. You spent hours knitting. Give it the finish it deserves.
Time-Saving Tips for Busy Knitters
We get it — life is busy. Spending hours weaving in ends or waiting for a shawl to dry isn’t always realistic. But good finishing doesn’t have to take forever.
Here are practical tips to make finishing faster and easier:
1. Weave as You Go
Every time you change colors or finish a ball, weave in that end immediately. You’ll avoid a tangled mess at the end.
2. Use a Yarn Thimble
A small rubber thimble helps thread slippery yarn into your needle faster.
3. Block Multiple Items at Once
Use a large blocking mat or your clean bedroom floor. Block a few socks, a hat, and a scarf together to save time and space.
4. Speed Up Drying
- Use a fan to circulate air.
- Replace damp towels under thick items.
- Avoid direct sunlight (it can fade colors).
5. Keep a “Finishing Kit” Ready
Store your tapestry needle, pins, wool wash, and mats in one basket. No more searching when you’re ready to block.
6. Choose Low-Maintenance Yarns
Superwash wool blocks beautifully and dries faster than regular wool. Cotton is easy to care for and doesn’t require special blocking.
Remember: A few minutes now saves hours of frustration later.
Small habits make big differences.
The Emotional Reward of a Well-Finished Project
Let’s talk about something deeper than technique: how finishing makes you feel.
Have you ever worn a sweater you made, and someone said, “Did you really knit this?” And you could say, “Yes — and look how it fits, how it drapes, how perfect it is”? That pride — that’s what finishing gives you.
It’s not just about appearance. It’s about craftsmanship. When you take the time to weave in ends neatly and block with care, you’re saying:
“This matters. My work matters. I matter.”
And that mindset carries over. It builds confidence. It turns “I made this” into “I am a knitter.”
Think of your favorite handmade gift. Chances are, it was finished well — smooth, soft, and thoughtfully presented. That care is felt. It’s love made visible.
So when you’re tempted to skip the last steps, remember: you’re not just finishing a project. You’re honoring your creativity, your patience, and your voice.
The final stitches aren’t the end — they’re the signature on your art.
Conclusion: Finish Strong, Knit with Pride
We’ve covered a lot — from the practical steps of weaving in ends to the transformative power of blocking. But the biggest takeaway? Finishing is not optional. It’s essential.
Weaving in ends keeps your work secure and clean. Blocking reveals the true beauty of your knitting. Together, they turn effort into excellence.
You don’t need expensive tools or years of experience. Just a needle, some water, and a little patience. And the rewards? A professional finish, longer-lasting projects, and the deep satisfaction of knowing you did it right.
So the next time you cast off, don’t put your needles down just yet. Take those extra few minutes. Weave with care. Block with intention.
And when you’re done, hold up your work and smile. Because you didn’t just finish — you finished strong.
Now, we’d love to hear from you:
👉 What’s your go-to blocking method?
👉 Have you ever had a “blocking miracle” moment?
Drop a comment below, share your story, or tag us in a photo of your beautifully finished project. Let’s celebrate the art of the finish — together.
Happy knitting, and even happier finishing!

Daniele Ferreira is passionate about the world of crochet, dedicating her time to exploring techniques, creating unique pieces, and sharing her knowledge with beginners and aficionados alike. With attention to detail and creativity, she transforms yarn into true works of art, inspiring others to discover the beauty and joy of this manual art.

