
The Magic of Seamless Knitting
Have you ever finished a beautiful knitted project, only to be distracted by a noticeable join or a bulky knot in your yarn? You’re not alone. For many knitters—whether beginners or seasoned crafters—one of the most frustrating parts of creating a flawless piece is learning how to join yarn seamlessly. That tiny gap, bump, or twist can ruin the smooth flow of your work, especially in projects like scarves, sweaters, or baby blankets where elegance and continuity matter.
The good news? A seamless yarn join isn’t magic—it’s a skill. And once you learn the right techniques, you’ll wonder how you ever knitted without them. In this article, we’ll walk you through everything you need to know about joining yarn without leaving a trace. From understanding why seamless joins matter to exploring practical, easy-to-learn methods, you’ll gain the confidence to keep your knitting looking professional and polished.
We’ll cover the most popular techniques like the Russian join, spit splice, felted join, and more—each suited for different types of yarn and projects. You’ll also get step-by-step tips, common mistakes to avoid, and expert insights to help you choose the best method for your needs. Whether you’re working on a color-blocked shawl or simply running out of yarn mid-row, this guide will ensure your knitting flows as smoothly as your creativity.
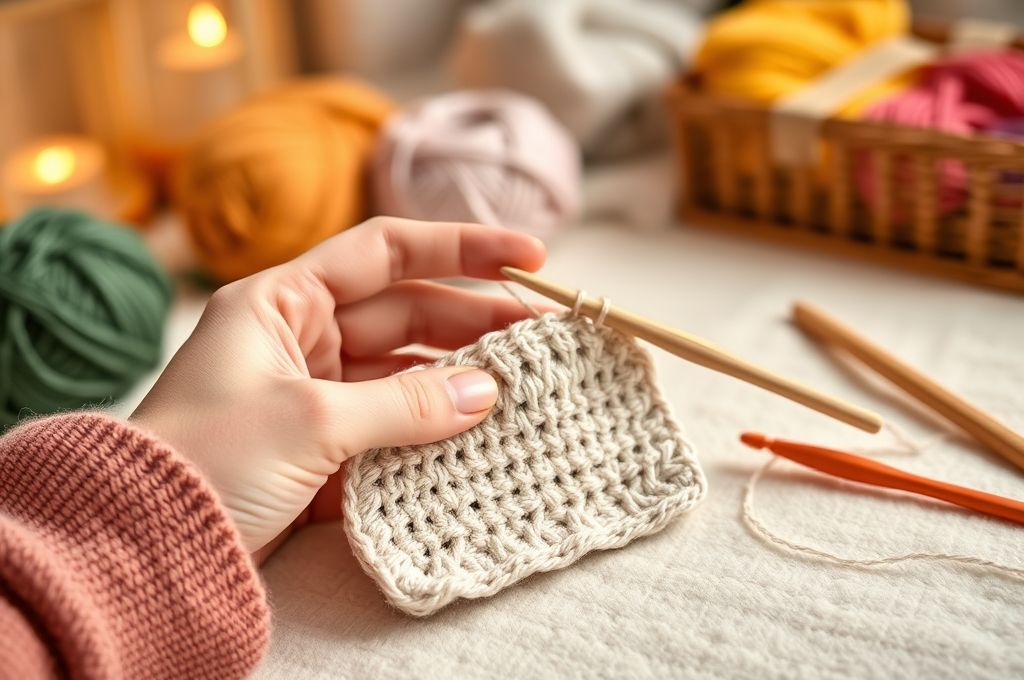
So grab your needles, pick up your favorite skein, and let’s dive into the world of invisible yarn joins—where craftsmanship meets elegance, one stitch at a time.
Why Seamless Yarn Joins Matter
When you knit, every stitch tells a story. But a poorly executed yarn join can interrupt that narrative with a jarring visual break. A seamless join, on the other hand, keeps the rhythm of your knitting uninterrupted—both structurally and aesthetically.
Think of it like reading a novel. A well-written book flows smoothly from sentence to sentence. But if every few paragraphs there’s a typo or an awkward pause, it pulls you out of the experience. The same goes for knitting. A visible knot or a loose tail can distract the eye, weaken the fabric, or even come undone over time.
Beyond appearance, seamless joins also improve the durability of your project. Traditional knots can create tension points that stress the yarn, leading to breakage or uneven wear. They also add bulk, which is especially problematic in garments like socks or baby clothes where softness and comfort are key.
Moreover, many modern knitting patterns—especially those involving hand-dyed or variegated yarns—rely on smooth color transitions. A clumsy join can disrupt the gradient or create a sudden shift that looks accidental rather than intentional.
And let’s not forget the satisfaction factor. There’s something deeply rewarding about holding a finished piece that looks store-bought, even though you made it yourself. Seamless joins are one of those small details that elevate your work from “handmade” to “handcrafted.”
So whether you’re knitting for yourself, as a gift, or to sell, mastering invisible joins is a game-changer. It’s not just about hiding the seams—it’s about honoring the integrity of your craft.
Understanding Yarn Types and Join Compatibility
Before diving into techniques, it’s important to understand that not all yarns are created equal—and not every joining method works for every fiber. The type of yarn you’re using plays a huge role in determining which seamless join method will work best.
Let’s break it down:
- Animal fibers (like wool, alpaca, and cashmere) respond well to techniques that involve felting, such as the spit splice or felted join. These fibers have microscopic scales that, when agitated with moisture and friction, bind together to create a nearly invisible connection.
- Plant-based fibers (like cotton, linen, and bamboo) don’t felt, so methods like spit splicing won’t work. Instead, you’ll want to rely on mechanical joins like the Russian join or weaving in ends with a duplicate stitch.
- Synthetic fibers (acrylic, nylon, polyester) also don’t felt, and they tend to be more slippery, making knots more likely to come undone. The Russian join is often the best choice here because it physically locks the yarn in place.
- Blends require a bit of trial and error. A wool-acrylic blend, for example, might partially felt, but not as strongly as 100% wool. In such cases, the Russian join is usually the safest bet.
Another consideration is ply structure. Multi-ply yarns (made of several twisted strands) can often be separated and spliced, while single-ply yarns may be too delicate. Similarly, thicker yarns are easier to work with when doing intricate joins, while fingering or lace weight yarns require more precision.
Choosing the right method based on your yarn type ensures not only a seamless look but also a strong, lasting connection. So before you reach for your darning needle or start spitting on your yarn (yes, really!), take a moment to assess what you’re working with. Your future self—and your knitting—will thank you.
The Russian Join: A Strong, Invisible Favorite
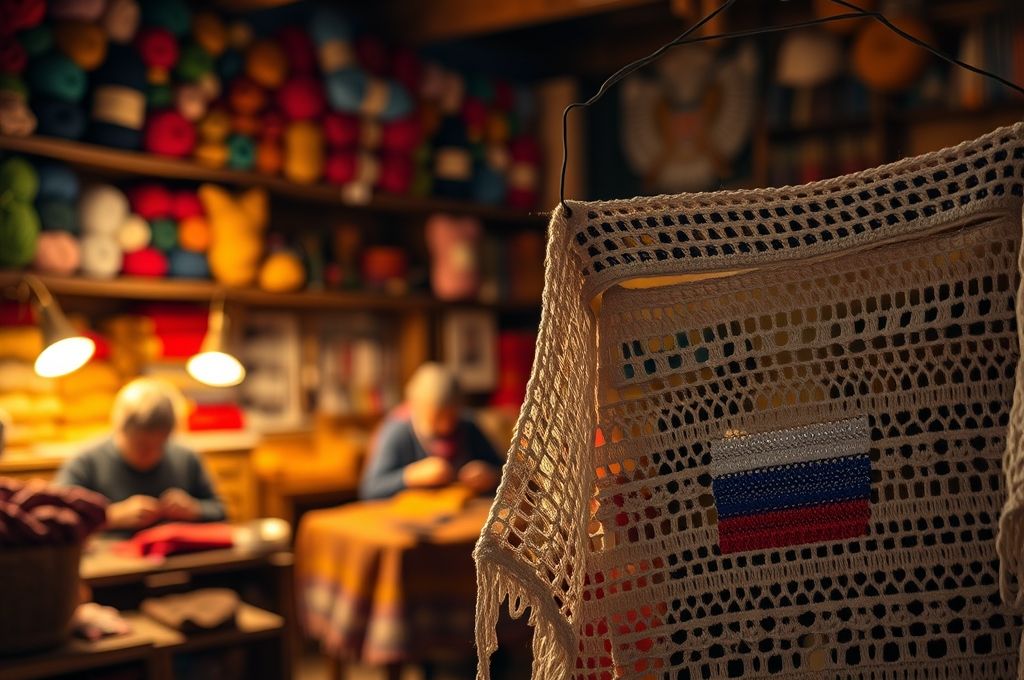
One of the most popular and versatile methods for joining yarn seamlessly is the Russian join. Loved by knitters worldwide, this technique is especially effective for non-wool fibers and is completely knot-free.
Here’s how it works:
- Thread a tapestry needle with one end of your yarn and insert it into the center of the yarn strand, going backward about 1–2 inches. Pull it through, creating a loop.
- Repeat with the second yarn end, threading it through its own center.
- Tie the two loops together with a secure overhand knot.
- Gently pull the yarn ends so the knots slide into the center of each strand, hiding them completely.
- Trim any excess.
The beauty of the Russian join lies in its simplicity and strength. Because the knot is buried inside the yarn, there’s no bump or bulk on the outside. It’s also incredibly secure—much more so than a traditional knot tied at the end.
This method works exceptionally well with smooth, plied yarns like merino wool, cotton, or acrylic. It’s ideal for projects where you want a clean transition, such as stripes in a sweater or continuing a lace shawl.
Pro tip: If you’re working with a slippery yarn, consider doubling the knot (tying two overhand knots) for extra security. And always pull the yarn slowly when burying the knot—yanking too hard can cause the yarn to split.
Many knitters even use the Russian join before they start a project, especially when using hand-dyed or limited-edition yarns. That way, if a skein runs out mid-pattern, they already have a fresh ball joined invisibly and ready to go.
While it takes a little practice to master, the Russian join is a skill worth learning. Once you get the hang of it, you’ll use it again and again—especially when you want strength without sacrificing style.
Spit Splice: The Felted Magic for Wool Lovers
If you’re working with 100% wool or another animal fiber, the spit splice (also known as a felted join) is nothing short of magical. This method uses the natural felting properties of wool to fuse two ends together into a single, continuous strand—no knots, no weaving, no bulk.
Here’s how to do it:
- Separate the plies of both yarn ends for about 2 inches.
- Overlap the strands so that the plies interlock.
- Moisten your fingers (yes, with saliva—or water, if you prefer) and rub the overlapped section vigorously between your palms.
- As you rub, apply light pressure and twist the yarn slightly.
- Continue for 20–30 seconds until the fibers felt together and the join feels solid.
- Gently tug to test—when done right, it should hold strong.
The science behind this is fascinating: wool fibers have tiny scales that open up when wet and agitated. As they rub together, the scales interlock and permanently bond, creating a seamless connection.
Best uses: Spit splicing is perfect for projects like seamless sweaters, felted accessories, or any wool-based item where you want a completely invisible join. It’s especially popular in colorwork or stranded knitting, where multiple yarns are used in sequence.
Caveats: This method only works with animal fibers that can felt. It won’t work with cotton, acrylic, or silk. Also, avoid using it on superwash wool, as the fibers are coated and won’t felt properly.
Some knitters shy away from the “spit” part, but a little water works just as well. You can also use a damp cloth or spray bottle for a more hygienic approach.
Once you’ve tried it, you’ll see why so many hand-knitters swear by the spit splice. It’s fast, strong, and leaves behind a join that’s nearly impossible to detect—even up close.
Felted Join (Wet Felted Splice): A Softer Alternative
Similar to the spit splice but more controlled, the felted join (or wet felted splice) is another excellent option for wool and other feltable fibers. Instead of using saliva, this method involves fully submerging the yarn in soapy water and agitating it to encourage felting.
This technique is ideal when you want a more thorough bond or are working with thicker yarns that need extra felting time.
Steps:
- Unravel the ends of both yarns for 1–2 inches.
- Overlap the plies so they interlock.
- Soak the joined section in warm, soapy water (a few drops of dish soap work well).
- Gently rub the area between your fingers or palms for 1–2 minutes.
- Rinse with cool water and blot dry with a towel.
- Allow it to air dry completely before knitting.
Because this method uses more water and time, the felted bond is often stronger and more uniform than a spit splice. It’s particularly useful for bulky wool projects like rugs, hats, or mittens, where durability is key.
Bonus tip: You can even felt the join after it’s in your knitting by lightly steaming it with an iron (held above the fabric) or using a steam-blocking technique. This helps integrate the join into the surrounding stitches.
Like the spit splice, this method is exclusive to feltable fibers. But for wool lovers, it’s a powerful tool in the seamless knitting arsenal.
The Magic Knot: Quick, But Use with Caution
The magic knot is a popular choice among knitters looking for a fast, no-tools solution. It’s essentially a double fisherman’s knot that locks the yarn ends inside themselves.
Here’s how to tie it:
- Lap the two yarn ends together, about 6 inches overlapping.
- Tie an overhand knot with each strand around the other.
- Pull both knots tight.
- Trim the ends close to the knots.
- Gently pull the yarn to slide the knots into the center of each strand.
When done correctly, the magic knot disappears into the yarn, leaving a secure join.
Pros: It’s quick, requires only your hands, and works with most yarn types.
Cons: It can be bulky with thick yarns, and if not tied tightly, it may slip. Some knitters report that the knot can feel stiff or create a small bump in delicate fabrics.
Best for: Emergency joins, or when you don’t have a needle on hand. It’s also useful for slippery yarns like silk or rayon, where other methods might not hold.
While not as elegant as the Russian join or spit splice, the magic knot is a handy trick to have in your back pocket—especially when you’re knitting on the go.
Weaving in Ends: The Classic Backup
Sometimes, the simplest solution is the most reliable. Weaving in ends may not be as invisible as a Russian join, but when done properly, it’s strong, secure, and barely noticeable.
To weave in ends seamlessly:
- Use a tapestry needle to thread the yarn tail.
- Follow the path of the stitches for at least 6–8 inches, going in a zig-zag or duplicate stitch pattern.
- Change direction halfway to prevent unraveling.
- Trim excess.
For a truly invisible result, use the duplicate stitch method, which mimics the look of the existing stitches.
When to use it: Weaving is ideal for short ends, after using a temporary knot, or when joining in a new color at the edge of a piece.
Pro tip: Weave in ends as you go to avoid a mountain of loose tails at the end of your project. It’s much easier to handle one or two at a time.
While not a “join” in the traditional sense, weaving is a critical skill for achieving a polished finish.
Choosing the Right Method for Your Project
With so many options, how do you decide which join to use?
Here’s a quick decision guide:
- Wool or feltable fiber? → Try spit splice or wet felted join.
- Cotton, acrylic, or synthetic? → Use the Russian join.
- Blends? → Go with Russian join for reliability.
- Need a quick fix? → The magic knot can save the day.
- Don’t mind a little extra work? → Weave in ends with duplicate stitch.
Also consider your project type:
- Garments and wearables: Prioritize softness and durability—Russian or felted joins are best.
- Colorwork or stripes: Use a method that won’t create bulk, like Russian join or spit splice.
- Home decor or rugs: Strength matters—felted joins or secure weaving work well.
There’s no one-size-fits-all answer. The best knitters experiment and adapt based on their materials and goals.
Common Mistakes and How to Avoid Them
Even experienced knitters make mistakes when joining yarn. Here are the most common pitfalls:
- Joining too tightly: This can distort your stitches. Always test the tension after joining.
- Not burying knots deep enough: If the knot sticks out, it can snag or feel rough. Pull it fully into the yarn.
- Using the wrong method for the fiber: Spitting on acrylic won’t do anything—know your yarn!
- Trimming too soon: Wait until you’ve knitted a few rows to ensure the join holds.
- Ignoring tension changes: Some joins can slightly alter yarn thickness. Knit a swatch first.
The key is practice. Try each method on a scrap piece before using it in a real project.
Tips for a Professional Finish
Want your knitting to look like it came from a boutique? Here are a few pro tips:
- Join at the edge when possible, so the transition is less noticeable.
- Use matching yarn for weaving in ends—even a slight color difference can show.
- Block your project after finishing. This helps relax the fibers and blend joins into the fabric.
- Keep a joining kit with tapestry needles, scissors, and a small bowl of water for felting.
Small details make a big difference.
Embracing the Journey of Mastery
Learning to join yarn seamlessly isn’t just about technique—it’s about patience, attention to detail, and respect for your craft. Every knitter starts somewhere, and every “imperfect” join is a step toward mastery.
Think of your first attempts not as failures, but as part of the process. Even the most skilled artisans had to learn how to hide a tail or splice a strand. What matters is that you’re investing in your growth, one stitch at a time.
And remember: knitting is as much about the journey as it is about the finished piece. The quiet rhythm of the needles, the softness of the yarn, the pride of creating something with your hands—these are the true rewards.
So the next time you run out of yarn mid-row, don’t panic. See it as an opportunity to practice a new skill, to make a connection that’s not just physical, but meaningful.
Because in the end, the most beautiful thing about knitting isn’t perfection—it’s the love, care, and intention you pour into every loop and every join.
Conclusion: Your Next Step Toward Seamless Knitting
We’ve explored several ways to join yarn seamlessly—the Russian join, spit splice, felted join, magic knot, and weaving in ends—each with its own strengths and ideal uses. You now have the knowledge to choose the right method for your yarn type and project, avoid common mistakes, and achieve a professional finish.
But more than techniques, this journey is about confidence. It’s about knowing that you can keep knitting, no matter how many skeins you need, and that your work will look as beautiful as you imagined.
So why not try one of these methods today? Pick up a scrap of yarn and practice a Russian join. Test a spit splice on some wool. See how it feels to make a connection that disappears into the fabric.
And when you do, take a moment to appreciate the craft you’re part of—a tradition of creativity, resilience, and quiet joy.
If you found this guide helpful, share it with a fellow knitter. Or better yet, leave a comment below: What’s your favorite way to join yarn? Have you tried the Russian join? What challenges have you faced?
Let’s keep the conversation going—because every knitter has a story to tell. And yours starts with a single, seamless stitch.
Happy knitting! 🧶

Daniele Ferreira is passionate about the world of crochet, dedicating her time to exploring techniques, creating unique pieces, and sharing her knowledge with beginners and aficionados alike. With attention to detail and creativity, she transforms yarn into true works of art, inspiring others to discover the beauty and joy of this manual art.


