
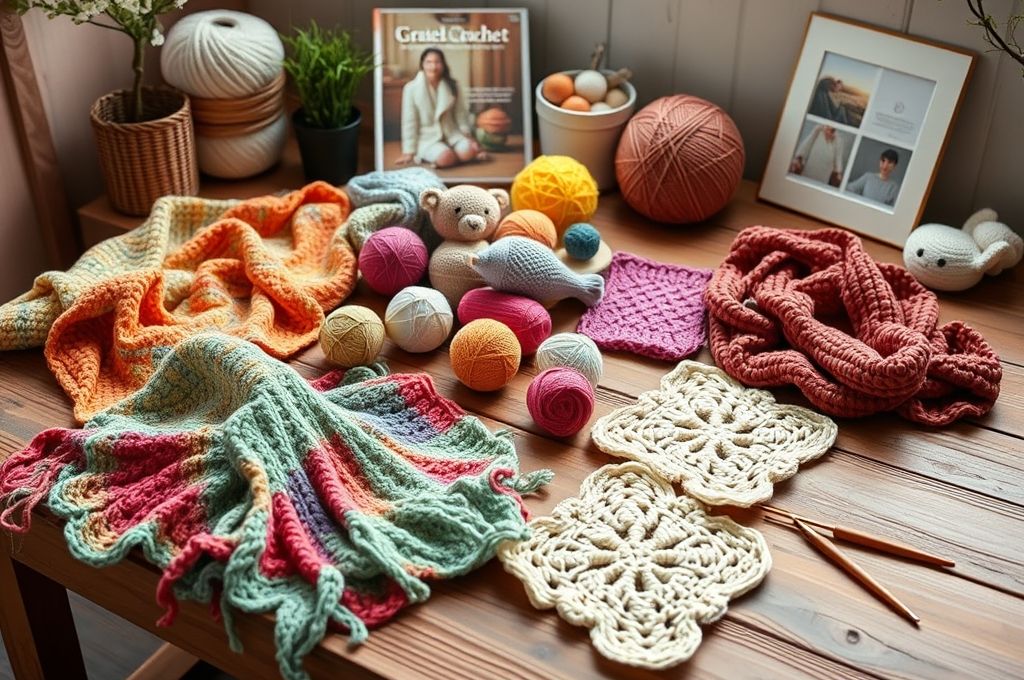
Hooked from the Start
Have you ever held a crochet hook and thought, “I could never do that”? You’re not alone. But what if we told you that in just one week, you could go from nervous beginner to someone proudly showing off a handmade coaster, beanie, or even a cozy blanket? Crochet isn’t just for grandmas or craft experts—it’s a creative, calming, and surprisingly simple hobby that anyone can start today.
In a world that moves faster every day, crochet offers something rare: a chance to slow down, focus your hands, and create something beautiful with your own two hands. And the best part? You don’t need years of experience to make something you’ll love. With just a few basic stitches and a little patience, you can complete your first projects in under seven days.
This article is your friendly guide to easy crochet projects perfect for your first week. Whether you’ve never held a hook before or you’ve tried once and gave up, we’ve got you covered. We’ll walk you through essential tools, foundational stitches, and five beginner-friendly projects that will boost your confidence and keep you hooked (pun intended). You’ll also learn how to avoid common mistakes, choose the right yarn, and find joy in the process—not just the final product.
So grab a cup of tea, find a comfy spot, and let’s dive into the cozy, colorful world of crochet—one stitch at a time.
Why Start Crocheting? More Than Just a Craft
Crochet isn’t just about making pretty things. It’s a powerful blend of creativity, mindfulness, and accomplishment. Studies have shown that repetitive hand movements—like those in knitting and crochet—can reduce stress and anxiety, almost like a form of moving meditation. In fact, a 2013 study published in The British Journal of Occupational Therapy found that 81% of people who crocheted reported feeling happier and more relaxed afterward.
But beyond mental health, crochet gives you something tangible: a handmade item born from your effort. That’s a feeling no online purchase can match. Whether you’re making a gift for a loved one or treating yourself to a new scarf, each stitch carries intention and care.
And let’s be real—it’s also incredibly satisfying. There’s a quiet pride in saying, “I made this.” Plus, once you learn the basics, the possibilities are endless. But you don’t need to jump to complex patterns right away. Starting small builds confidence. That’s why your first week should focus on simple, rewarding projects that teach you the fundamentals without overwhelming you.
So why start now? Because you don’t need special talent. You don’t need expensive tools. You just need curiosity and a willingness to try. And trust us—your future crocheting self will thank you.
Getting Started: Tools and Materials You’ll Need
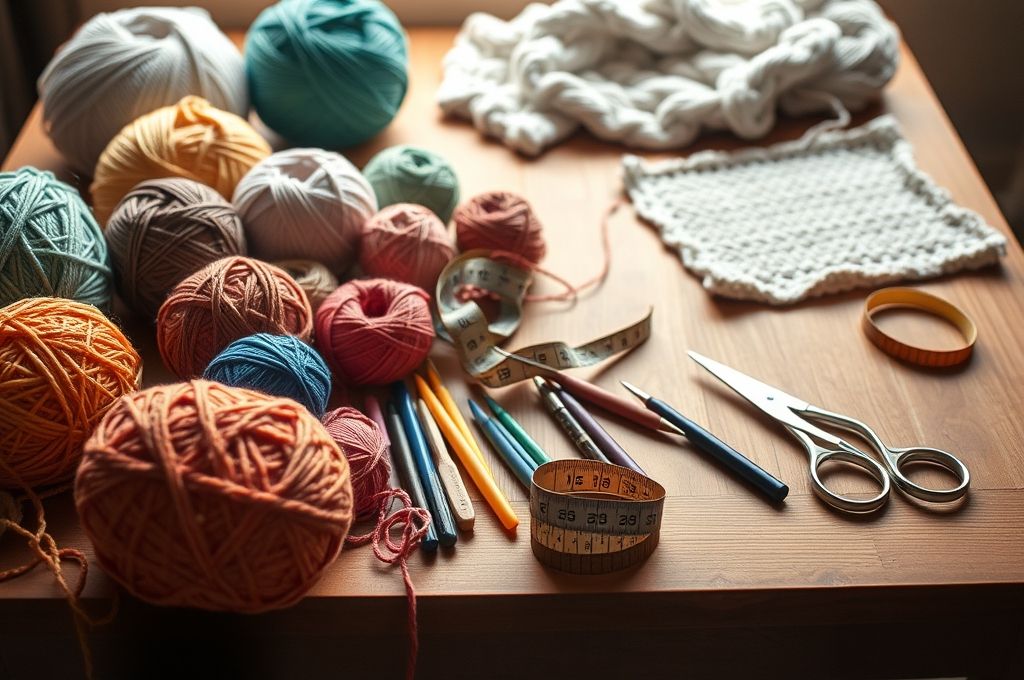
Before you dive into your first project, let’s talk about what you actually need. The good news? Crochet requires very few supplies to get started.
1. Crochet Hook
Beginners often do best with a size H-8 (5mm) aluminum or bamboo hook. It’s a medium size that works well with most beginner-friendly yarns. Look for one with a comfortable grip—your hand will thank you after an hour of stitching.
2. Yarn
Choose a medium-weight (worsted) yarn in a light, solid color. Why light? Because it’s easier to see your stitches. Avoid dark or fuzzy yarns at first—they can make it hard to track your work. Acrylic yarn is affordable, durable, and widely available, making it perfect for beginners.
3. Scissors
Any small pair will do. You’ll use them to cut yarn when finishing a project.
7. Tapestry Needle
This blunt needle is used to weave in loose yarn ends so your project looks neat and secure.
8. Stitch Markers (Optional)
These little rings help you mark the beginning of a round or a specific stitch. They’re especially helpful in circular projects like hats or coasters.
Pro Tip: Many craft stores sell “beginner crochet kits” that include a hook, yarn, needle, and instructions—all in one package. These are a great way to start without guessing what you need.
Remember, you don’t need everything at once. Start with a hook, some yarn, scissors, and a needle. The rest can come later.
The ABCs of Crochet: Mastering Your First Stitches
Now that you have your tools, it’s time to learn the basics. Don’t worry—crochet only uses a handful of essential stitches, and you’ll only need two or three for your first projects.
1. The Slip Knot
This is how you start every project. Make a loop with the yarn, pull the working end through, and slide it onto your hook. Tighten it just enough to slide smoothly.
2. Chain Stitch (ch)
This is the foundation of almost every crochet project. Yarn over (wrap the yarn over the hook), then pull it through the loop on your hook. Repeat. Each loop you create is a chain stitch.
3. Single Crochet (sc)
Insert your hook into a chain, yarn over, pull up a loop (you’ll have two loops on your hook), yarn over again, and pull through both loops. This stitch is short and tight—perfect for coasters and edges.
4. Double Crochet (dc)
Slightly taller and faster to work. Yarn over first, insert hook into stitch, yarn over, pull up a loop (three loops on hook), yarn over and pull through two, then yarn over and pull through the last two.
Practice Tip: Make a small swatch—about 10 chains, then work single crochet back across. Repeat for a few rows. This helps you get a feel for tension and rhythm.
Don’t panic if your first rows look uneven. Everyone’s does! The key is consistency, not perfection. In a few days, you’ll look back and see how much you’ve improved.
Project 1: Simple Coasters – Your First Finished Piece
Let’s start with something small, useful, and quick: crocheted coasters. These are perfect for your first week because they take less than an hour to make and teach you the basics of working in rows.
Materials:
- Worsted weight yarn (any color)
- Size H-8 (5mm) hook
- Scissors
- Tapestry needle
Pattern (Makes one coaster):
- Chain 12.
- Single crochet in the second chain from the hook and in each chain across (11 sc).
- Chain 1, turn.
- Single crochet in each stitch across.
- Repeat row 4 until your piece is square (about 11 rows total).
- Fasten off and weave in ends.
Tips:
- Keep your tension relaxed. Don’t pull too tight.
- Count your stitches each row to avoid accidentally adding or dropping one.
- Make a set of four in coordinating colors for a personalized gift.
Why This Works:
Coasters build muscle memory. You’ll practice chaining, turning, and consistent stitching—all core skills. Plus, they’re functional. Use them, gift them, or keep them as a proud reminder of your first success.
Project 2: The No-Brainer Scarf – Warmth and Confidence
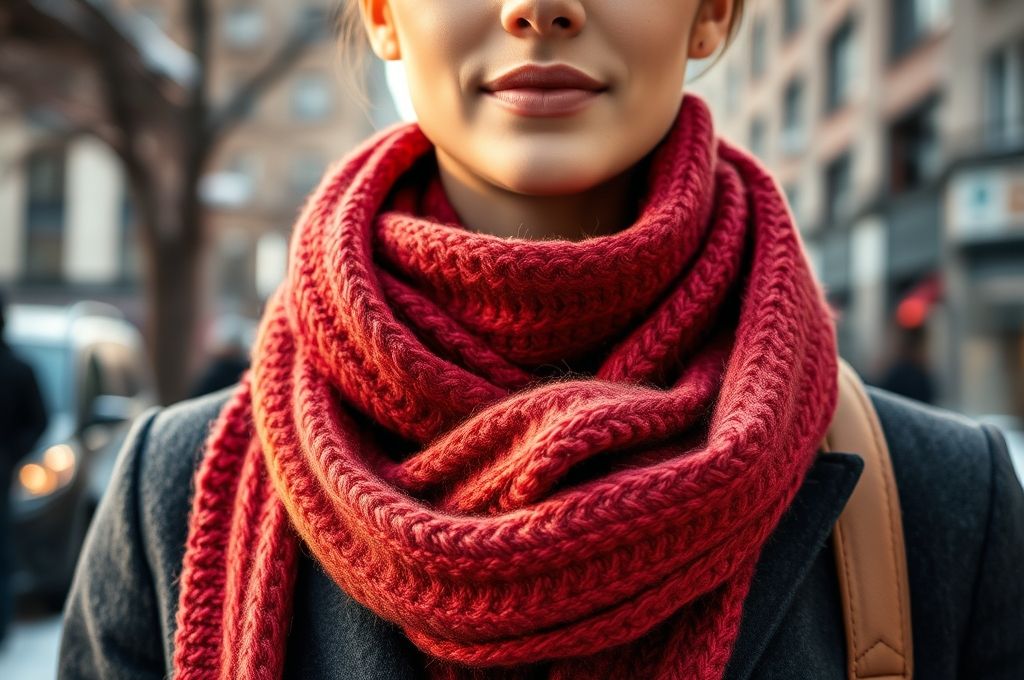
Once you’ve mastered the coaster, it’s time to scale up—literally. A beginner scarf is the next logical step. It’s long, repetitive, and forgiving, making it ideal for building rhythm and confidence.
Why a scarf?
- It uses the same stitches as the coaster but over more rows.
- Mistakes are less noticeable in longer pieces.
- It’s wearable and useful—great motivation to finish!
Materials:
- One skein of worsted weight yarn (approx. 200 yards)
- Size H-8 hook
- Scissors and tapestry needle
Simple Scarf Pattern:
- Chain 20 (or more for a wider scarf).
- Single crochet in the second chain from the hook and each chain across.
- Chain 1, turn.
- Single crochet in each stitch across.
- Repeat until the scarf reaches your desired length (about 60 inches is standard).
- Fasten off and weave in ends.
Customize It:
- Switch to double crochet for a looser, faster fabric.
- Add stripes by changing colors every 10 rows.
- Try a variegated yarn to hide minor inconsistencies.
Bonus Benefit:
A scarf is meditative. The repetition can help clear your mind, making crochet a form of self-care. And when you wear it? That’s wearable pride.
Project 3: The Magic Ring Beanie – Your First Circle
Now let’s move into working in the round—a key skill for hats, bags, and amigurumi. We’ll start with a simple beanie using the “magic ring” technique, which creates a tight center (no hole in the middle!).
Why Try a Hat?
It teaches circular stitching, increasing, and shaping—skills that open doors to more complex projects.
Materials:
- One skein of worsted weight yarn
- Size H-8 hook
- Stitch marker (optional but helpful)
- Tapestry needle
Magic Ring Beanie (Adult Small):
- Make a magic ring.
- Work 8 single crochets into the ring. Pull the tail to close.
- Place a stitch marker in the first stitch (to mark the beginning of the round).
- Increase in each stitch (2 sc in each stitch) = 16 stitches.
- Sc in next stitch, 2 sc in next (increase every other stitch) = 24 stitches.
- Sc in next 2 stitches, 2 sc in next = 32 stitches.
- Continue increasing evenly until the circle is about 7 inches in diameter.
- Then, work even (one sc in each stitch) for about 6–7 inches, or until it fits your head.
- Fasten off and weave in ends.
Helpful Hints:
- The magic ring might feel tricky at first. Watch a quick YouTube tutorial if needed.
- Try it on as you go to check fit.
- Use a contrasting color for the last few rows to add a fun cuff.
This project may take two or three days, but the sense of achievement is huge. You made a wearable hat—with your hands!
Project 4: Granny Square – A Classic Reimagined
The granny square is a crochet icon. Simple, versatile, and endlessly customizable, it’s a rite of passage for beginners.
Why Learn It?
- It’s the building block for blankets, bags, and garments.
- It teaches clusters and corner turns.
- You can make one square in under an hour.
Basic Granny Square (Single Color):
- Chain 4, join with a slip stitch to form a ring.
- Chain 3 (counts as first dc), then 2 more dc into the ring.
- Chain 2, 3 dc into the ring—repeat 3 times.
- Chain 2, join with a slip stitch to the top of the beginning ch-3.
- Fasten off.
Round 2:
- Join yarn in any ch-2 corner space.
- 3 dc, ch 2, 3 dc in the same space (this forms the corner).
- 3 dc, ch 2, 3 dc in each ch-2 space around.
- Join with a slip stitch and fasten off.
Creative Ideas:
- Make a bunch of squares and sew them into a patchwork blanket.
- Use different colors for each round to create a rainbow effect.
- Turn a single square into a coaster or pillow.
Granny squares are like LEGO blocks of crochet—simple alone, powerful together.
Project 5: Quick Dishcloth – Practical and Pretty
Let’s not forget practicality. A crocheted dishcloth is eco-friendly, absorbent, and a joy to make. Plus, it’s a great way to use cotton yarn, which is gentle on dishes and easy to wash.
Why Cotton?
Cotton is sturdy and lint-free, perfect for kitchen use. Look for “100% cotton” or “dishcloth yarn” at craft stores.
Simple Ripple Dishcloth:
- Chain 31 (a multiple of 6 + 1).
- Row 1: Sc in the second chain from hook and each chain across. Chain 1, turn.
- Row 2: Sc in each stitch across. Chain 1, turn.
- Rows 3–15: Repeat row 2.
- Fasten off and weave in ends.
Optional Ripple Pattern (for visual interest):
Alternate sets of double crochets and chains to create waves. Search “easy ripple dishcloth pattern” for a visual guide.
Uses:
- Kitchen sponge alternative
- Gift with a handmade soap bar
- Practice for textured stitches
This project proves that crochet isn’t just decorative—it’s functional art.
Common Mistakes (And How to Fix Them)
Even the best crocheters make mistakes. The key is knowing how to spot and correct them early.
1. Uneven Edges
Caused by adding or skipping stitches at the beginning or end of rows.
Fix: Count your stitches every row. Use a stitch marker to mark the first and last stitch.
2. Twisted Foundation Chain
If your first row looks like a Möbius strip, your chain was twisted.
Fix: Lay it flat before starting the next row. Make sure all loops face the same direction.
3. Too Tight or Too Loose Tension
Tight tension makes fabric stiff; loose tension causes gaps.
Fix: Relax your grip. Your yarn should glide smoothly. Practice with a swatch until it feels natural.
4. Forgetting to Chain at the Start of a Row
Each stitch type requires a different turning chain (ch 1 for sc, ch 2 for hdc, ch 3 for dc).
Fix: Write it on a sticky note until it becomes second nature.
5. Yarn Tangles
Frustrating and time-consuming.
Fix: Use a yarn bowl or bag to keep your ball from rolling away and tangling.
Remember: mistakes are part of learning. If something goes wrong, laugh it off and keep going. Your next row will be better.
Choosing the Right Yarn: A Beginner’s Guide
Not all yarn is created equal. Picking the right one can make or break your first project.
Weight:
- Worsted (Category 4) is ideal for beginners. Thick enough to see stitches, not too bulky.
Fiber:
- Acrylic: Affordable, durable, comes in every color. Great for practice.
- Cotton: Sturdy and absorbent. Perfect for dishcloths and baby items.
- Wool: Warm and elastic, but can be itchy and harder to care for. Save it for later.
Color:
- Light, solid colors help you see your stitches.
- Avoid black, navy, or variegated yarns at first.
Label Tips:
Always check the label. It tells you:
- Recommended hook size
- Yardage
- Care instructions
- Fiber content
Pro Tip: Buy an extra skein. Running out mid-project is the worst.
Building a Routine: Crochet in Just 20 Minutes a Day
You don’t need hours to make progress. In fact, short, consistent sessions are more effective than marathon crafting.
Try this:
- Day 1: Learn the slip knot and chain 20.
- Day 2: Practice single crochet on a swatch.
- Day 3: Make your first coaster.
- Day 4: Start the scarf.
- Day 5: Learn the magic ring and begin the beanie.
- Day 6: Complete the beanie or start a granny square.
- Day 7: Finish one project and admire your work.
Even 15–20 minutes a day builds skill and confidence. Treat it like a mini-meditation session with a creative payoff.
Beyond the First Week: Where to Go Next
Congratulations—you’ve made it through your first week! Now what?
1. Try New Stitches
Explore half-double crochet, front/back post stitches, or shell patterns.
2. Make a Blanket
Combine granny squares or work in large panels.
3. Gift Something Handmade
A beanie for a friend, a scarf for a sibling—it’s a gift with heart.
4. Join a Community
Online groups (like r/crochet on Reddit) or local craft circles offer support and inspiration.
5. Learn to Read Patterns
Start with simple ones and grow from there.
Crochet is a journey, not a destination. Every stitch teaches you something new.
Conclusion: One Stitch at a Time
You started this article wondering if crochet was for you. Now, after just a few pages (and maybe a few practice stitches), you’ve learned how to make coasters, scarves, hats, and more—all in your first week. More importantly, you’ve discovered that creativity isn’t about perfection. It’s about showing up, trying, and enjoying the process.
Crochet gives you more than handmade items. It gives you focus, calm, and a sense of accomplishment. It turns idle moments into something meaningful. And best of all, it’s accessible to everyone—no prior experience needed.
So what’s next? Pick up your hook. Choose a project. Make that first chain. You don’t have to be an expert. You just have to begin.
We’d love to hear from you—what will you make first? Share your progress in the comments, tag us on social media, or simply smile at the coaster on your coffee table and think, I made that.
Happy crocheting! 🪝🧶

Daniele Ferreira is passionate about the world of crochet, dedicating her time to exploring techniques, creating unique pieces, and sharing her knowledge with beginners and aficionados alike. With attention to detail and creativity, she transforms yarn into true works of art, inspiring others to discover the beauty and joy of this manual art.


